
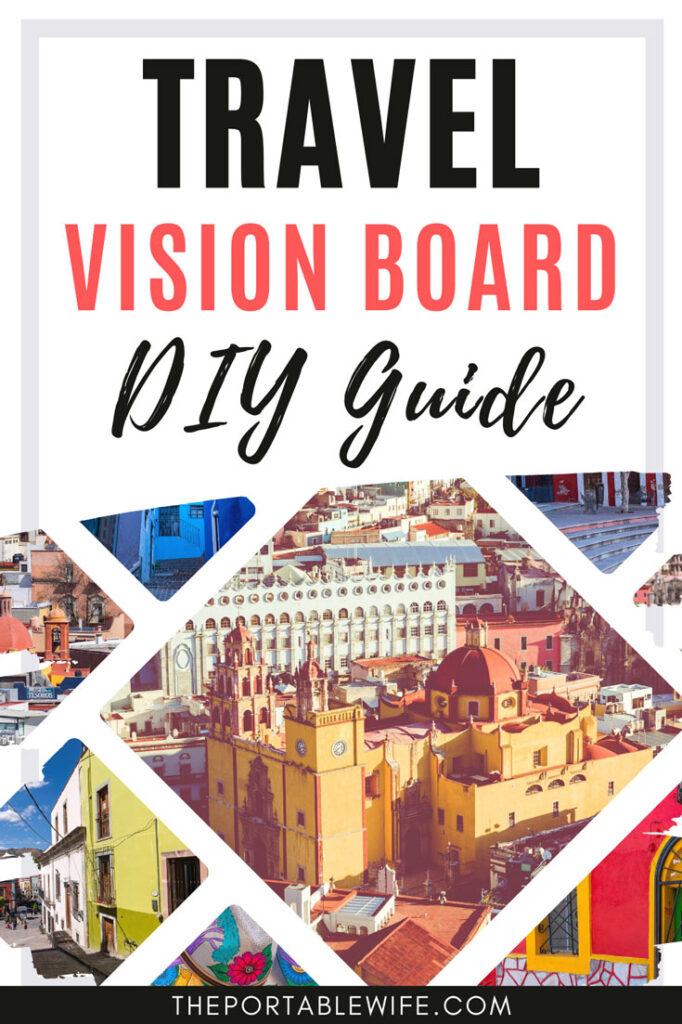
Is your bucket list overflowing with dream destinations? A travel vision board is the perfect way to organize your ideas and help make them a reality.
My very first travel dream board was a haphazard collage of magazine cutouts and blurry printer photos. Not bad for a tween in the 2000s, but not exactly wanderlust-inspiring quality either.
Thankfully, modern technology has made it easy to create a beautiful travel vision board quickly and cheaply–no glue sticks required. Whether you want a physical collection or a digital collage, here are the steps to design your own vacation vision board.
This post contains affiliate links. As an Amazon Associate, I earn from qualifying purchases. For more information, click here.
Create a list of dream destinations and experiences
You probably have tons of trip ideas and images swirling around in your head. To sort through the jumble and create the perfect travel vision board, start by listing out your bucket list destinations and experiences.
There are no rules for this list. It can contain everything from broad locations to specific elements, like a luxury hotel room with a big bathtub. At this point, your only task is to get your thoughts down on paper (or computer screen).
It’s also helpful to write down the overall mood of the trip. For example, is it romantic? Relaxed? Adventurous? Include a few notes that set the scene, like “quiet sunsets on the beach”.
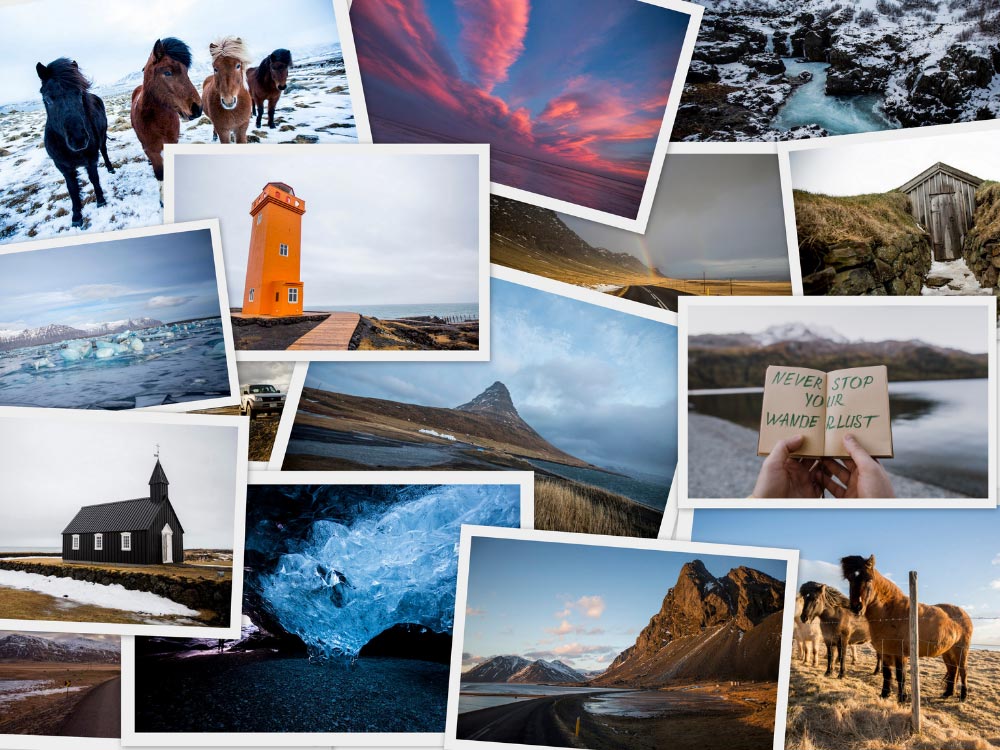
Here’s a list snippet from the travel board I made when planning a trip to Japan:
- Nagano
- Snow monkeys
- Hotel room with private onsen and nature views
- Zenko-ji temple at sunrise
- Relaxed evenings in bed
If you prefer digital lists, you can snag a free copy of my travel organizer by subscribing to my newsletter below!
Source photos for your travel vision board
Once you have a list of the key parts of your trip, it’s time to source the visuals that go with them!
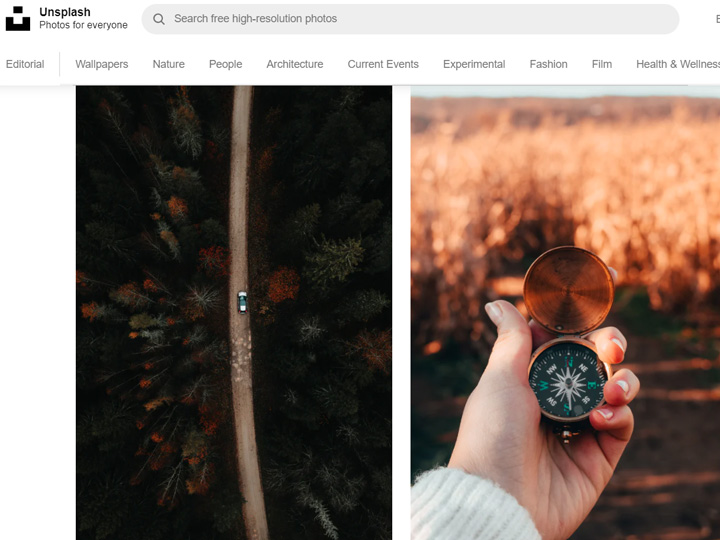
There are tons of free online resources for travel photography. Here are some of my favorites:
You can download printer-quality versions of photos from these sites, or save them on your computer for digital travel boards. As long as you’re keeping your board private (i.e. only for your personal use), you don’t need to worry about attribution.
Aside from stock photos, here are some other places to scout for travel images:
- Magazines (CN Traveller, National Geographic, etc.)
Find a few inspiration quotes
A travel vision board full of photos is fine, but adding extra elements turns the design up a notch.
Some people think travel quotes are cliche, but as an English major, I love a thoughtful passage. A quick Google search will turn up all sorts of inspiration, but these living abroad quotes and short travel quotes are good places to start.
You might also want to include some quotes about the specific destination you’re visiting. Doing a search of “books set in (destination)” or “books about (destination)” will give you the titles, which you can then search on Goodreads to find people’s favorite quotes.
Compile your favorites and set them aside until you decide if you’re going physical or digital with your board.
Save me for later!
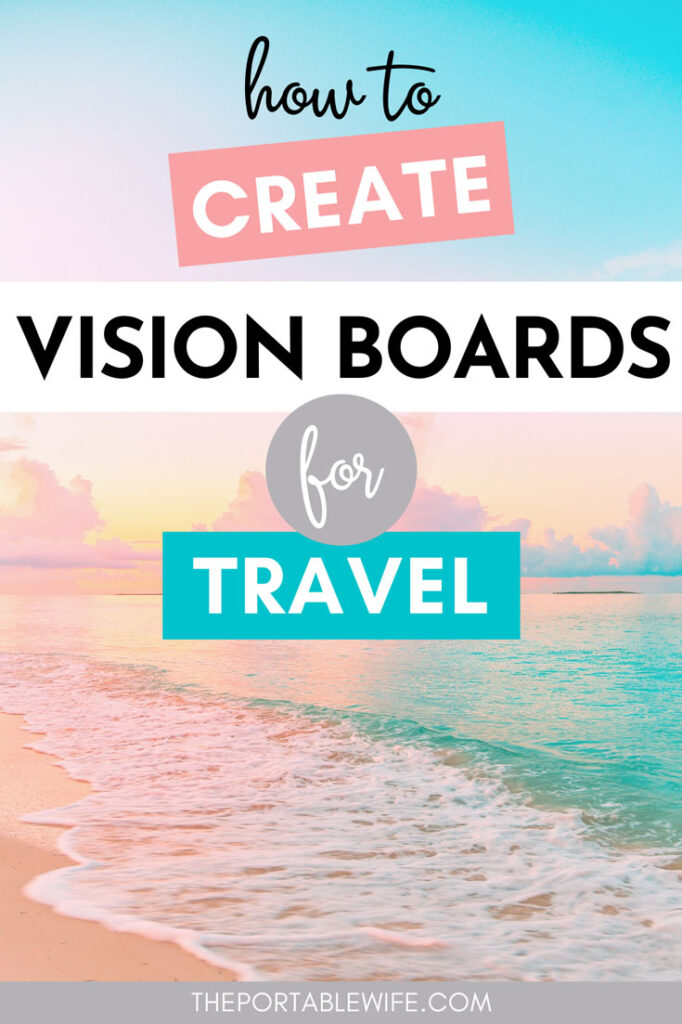
Choose between digital and physical travel vision board ideas
There are a few different ways you can form your vacation vision board. Each has their pros and cons, and there are no “best” answers: the choice is yours.
We’ll dive into the specifics of how to create your board in the next step. For now, here are the tools you’ll need, as well as some physical and digital travel vision board ideas.
Physical travel boards
A physical travel board opens the door to endless possibilities. Will you go for the classic cork board collage? Or perhaps something more quirky, like a hanging mobile?
Here are some ideas to get you started:
- Display your images and quotes on a cork board with clear push pins
- Tape or glue your content and write/paint quotes onto poster board or canvas board
- Hang everything from a photo mobile or photo strip
- Form a border of images and quotes around a scratch-off map
Using a physical travel board gives you the option to display your board as art. You’ll also have more creative flexibility to use different mediums (ex. magazine clippings, vintage paper, etc.). The only downsides are that you’ll need to buy materials and print out photos.
Digital travel boards
If you’re looking for a fast and free way to make a travel vision board, digital is the way to go. All you need is a platform or software to organize everything into one image.
Here are some free options that have built-in collage templates:
- Canva (my top recommendation–they also have tons of free photos!)
- PicMonkey
- Google Slides
If you don’t care much for design and just want a space to organize your ideas, Pinterest is a great option. You can upload images or save them from the web, and even link them to travel resources to reference in the future.
Making a beautiful digital travel board is easy with the help of online templates. You also don’t have to worry about printing photos. However, your display options are limited–you’ll either need to view the board on your phone or computer when you want some inspiration, or figure out how to print a copy to display at home.
Arrange your content

It’s time to flex those creative muscles! You don’t need to be an artist to pull together a beautiful travel board. Just follow a few basic rules to keep it cohesive and eye-pleasing:
- Identify one image to be the focal point, and arrange everything to complement it
- Choose a general color scheme–sites like Coolors can even generate a palette based on a photo you upload
- Mix up the sizes and orientations of your images
- Use a blend of close-up shots and zoomed out scenes
Here are a few more ways to add creative flair to your board:
- Write your quotes on colorful or vintage-looking paper (or use a textured digital background to achieve the same effect)
- Make a “days until departure” section (sticky notes work well for this)
- Add magazine or newspaper clippings (or screenshots) from articles you read about the destination
Display your travel board in a strategic location
You’ve worked hard putting together your travel vision board, so why not display it in a prominent place? This is easier with a physical board, but there are ways to ensure digital versions get plenty of your attention.
I display my travel board in the living room, which is where I spend the most time (yes, I work from the dining table instead of a proper desk). It’s a nice source of comfort and inspiration when I’m feeling tired or overwhelmed. Plus, keeping it front-and-center helps curb impulse buying and delivery spending–I can’t afford to travel if I order takeaway three times a week!
For digital boards, I recommend making them your desktop background or phone wallpaper. If you have dynamic wallpaper, you could even split the board into multiple sections and have them rotate across your screen. You can also create a shortcut to the image location and put the icon on your home screen or desktop.
Need more travel board inspiration? Follow me on Instagram!