If you’re staying in the Japan Alps region, it would be a mistake to not include a Kamikochi hiking excursion. With stunning mountain views, crystal clear waters, and well-placed food huts, Kamikochi National Park is one of the best Japanese Alps hiking experiences.
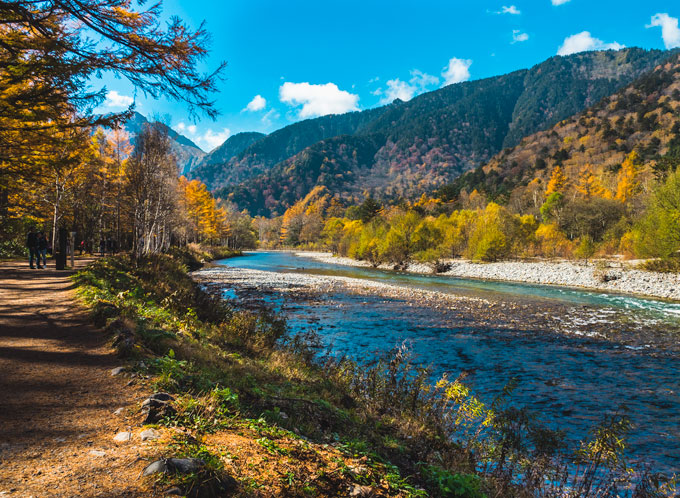
However, its remote location and motor vehicle ban are major access barriers, especially for overseas visitors. That’s why I’ve put together this detailed Kamikochi Japan guide to help travelers explore this amazing destination.
This post contains affiliate links. For more information, click here.
Table of Contents
— Why You Should Hike Kamikochi
— Best Time to Go Hiking in Kamikochi
— Kamikochi Hiking: What to Bring
— Kamikochi Accomodation
— How to Get to Kamikochi
— Kamikochi Hiking Highlights
— Half Day Kamikochi Hiking Route
— Tips for Hiking in Kamikochi
Why You Should Hike Kamikochi
Sticking to the beaten path is one of the biggest Japan travel mistakes you could make. Why not take a break from the country’s bustling cities and see a new side of Japan?
RELATED: 5 Day Japan Itinerary Ideas to Suit Every Travel Style
The best thing about Kamikochi hiking is the diverse landscape. During a half day trek, you’ll cross a winding river, pass beneath towering trees, and balance on wooden planks suspended over a marsh, among other adventures.
It’s no wonder this place is considered one of the most famous things in Japan!
Kamikochi is also perfect for hikers of all ages and abilities. Everyone from young children to the elderly can traverse the well-defined main circuit, while those looking for a challenge can set off on the rugged mountain trails.
Finally, it’s possible to enjoy a Kamikochi day trip without the need to stay overnight. If you’re concerned about the cost of lodging or finding a place to camp, you can easily see the area’s highlights in about five hours.
Important things to do before your Japan trip
From packing the right clothes to brushing up on etiquette, there’s a lot to do before traveling to Japan. Use my Japan pre-trip checklist to ensure you don’t forget anything before your trip!
Best Time to Go Hiking in Kamikochi
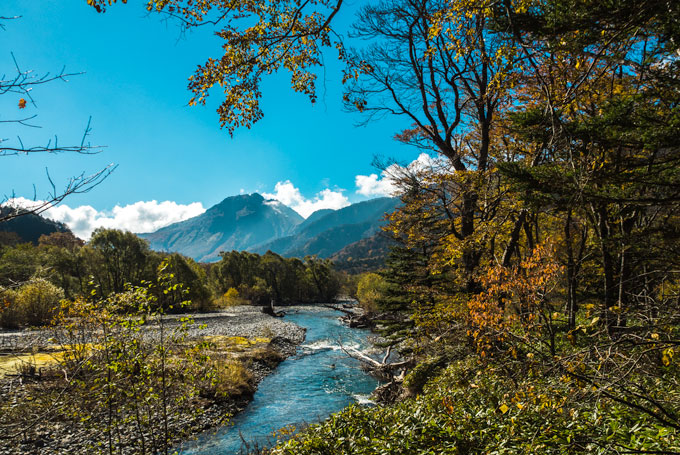
Due to weather conditions and road access, Kamikochi park is only open from mid-April to mid-November. Within that time period, mid-May through late October is the best time to visit Kamikochi.
That being said, you’d do well to avoid Golden Week (the last few days of April – early May) and Obon (August 13-15), as the park will be packed with Japanese vacationers.
Spring and summer hikers will enjoy the lush green trails, wildflowers, and comfortable temperatures. Beginning in late September, autumn colors start spreading down from the mountain tops, with colors peaking around mid-October.
I did my Kamikochi hiking during a late Ocotber trip to Japan, and the trees were bursting with red, yellow, and gold color. Afternoon temperatures were very pleasant, around 50 F/10 C, though it quickly grew cold once the sun began to dip behind the mountains.
Fall is the busiest season for the park, but the scenery is well worth the less solitary experience.
Should you choose to visit in April or November, be prepared for snow to change your plans. The buses that take visitors into the park will not operate in poor road conditions.
Kamikochi Hiking: What to Bring
Unlike other Japanese Alps hiking excursions, Kamikochi doesn’t call for a ton of gear or fancy hiking boots.
Unless you plan to tackle Mt. Yakedake or other destinations for mountaineering Japan, walking shoes or boots are perfectly fine. Athletic shoes will do in a pinch, but you may struggle in a few slippery and muddy areas throughout the main circuit.
Aside from sturdy footwear, here’s what else you should bring on your Kamikochi day trip:
- Waterproof jacket
- Fleece/layering jacket
- Gloves
- Water bottle
- Light snack
- Ziploc bag (for any trash)
- Basic first-aid supplies (bandages, anti-septic wipes, etc.)
- Tripod (if you’re into photography)
Kamikochi Accommodation
From basic campsites to high-end ryokans, there’s a Kamikochi accommodation to please every traveler.
Konashidaira Campsite is a short distance from the bus terminal and offers everything from tent sites to fully-equipped cabins. I passed through the campsite during my hike, and I’m definitely planning to rent one of these cabins on my next visit to Japan.
If you have money to spare, splurge on a night at the Kamikochi Imperial Hotel. This opulent mountain lodge boasts incredible views of the park and a famous Japanese cheesecake made with water from the Azusa River.
The Kamikochi Lemeiesta Hotel is a more affordable yet elegant option, with beautiful mountain views and private onsen baths.
For a more mid-range stay, consider booking at the Nishi-ito-ya Mountain Lodge. Guests can choose between Western, Japanese, and dorm-style rooms, and the public onsen comes with a view of Mt. Hodaka.
Regardless of where you choose, you should make your reservation well in advance. Last-minute rates are expensive, and it’s not uncommon for Kamikochi accommodation to fully book up one or two months ahead during holidays and peak foliage season.
How to Get to Kamikochi Japan
Despite the motor vehicle ban within the park, there are plenty of ways to get to Kamikochi.
Traveling from Tokyo, Osaka, or Kyoto
Alpico Group operates a number of express highway buses that run from these cities directly to Kamikochi Bus Terminal. You can check the various timetables and departure stations here.
Japan Rail Pass holders coming from Tokyo could also take the Hokuriku Shinkansen to Nagano Station, and catch an Alpico Group highway bus from there.
Because of Kamikochi’s location, it’s a perfect stopover if you’re planning to visit Osaka from Tokyo or another eastern Honshu city.
Traveling from Nagano Prefecture
The simplest way to get to Kamikochi Japan from Nagano prefecture is via Matsumoto. This beautiful city is home to one of Japan’s best-preserved castles and makes a great stopover on your way to Kamikochi,
Matsumoto Station is served by five Japan Rail lines, so JR Pass holders can easily travel here for free.
Don’t Forget Your Japan Rail Pass!
Buying a Japan Rail Pass will save you a ton of time and money when traveling across Japan.
I’ve purchased a JR pass for two out of three Japan trips, and here’s why:
– Free bullet trains and reservations: Quickly travel all over Japan to maximize vacation time.
– Easy to use: Just show your pass to the gate attendant and walk to your train!
– Affordable day trips: Visit popular places like Nagoya, Kanazawa, and more without spending a fortune on tickets.
Matsumoto Bus Terminal
If your itinerary is flexible, I recommend buying a direct round trip ticket to Kamikochi from Matsumoto Bus Terminal. It’s a two-hour journey on a comfortable highway bus.
There are two departing options that go directly to Kamikochi Bus Terminal: the 5:30am bus and 10:15am bus. The buses departing Kamikochi at 4pm and 4:45pm go directly to Matsumoto Bus Terminal.
All other buses require a change at Shin-Shimashima Station. You can check the Alpico bus schedule and process here.
Matsumoto Bus Terminal is just across from the train station. Once inside, you can use the machine to purchase your tickets (it has an English language option).
The machine accepts cash and credit card. Staff members at the ticket counter speak limited or no English, so it’s best to use the machine if you don’t speak Japanese.
The covered bus terminal is just around the corner from the ticket office. There are English displays at the bus stalls indicating their final destinations. There are also English announcements about 15 minutes before the Kamikochi bus departs, and they will say the stall number.
During busy season, I recommend lining up at least 20 minutes before departure to ensure you get a seat. I visited on a weekday at the end of fall, and there were about 9 empty seats. Standing is not allowed on the bus, so if it’s full, you’ll need to make your way to Kamikochi via Shin-Shimashima.
If you take the direct to Kamikochi bus, a bilingual Japanese and English tour guide will describe the cities as you pass through them. The bus also has free WiFi, which is great if you’re trying to get some work done on the two hour journey.
Kamikochi Bus Terminal
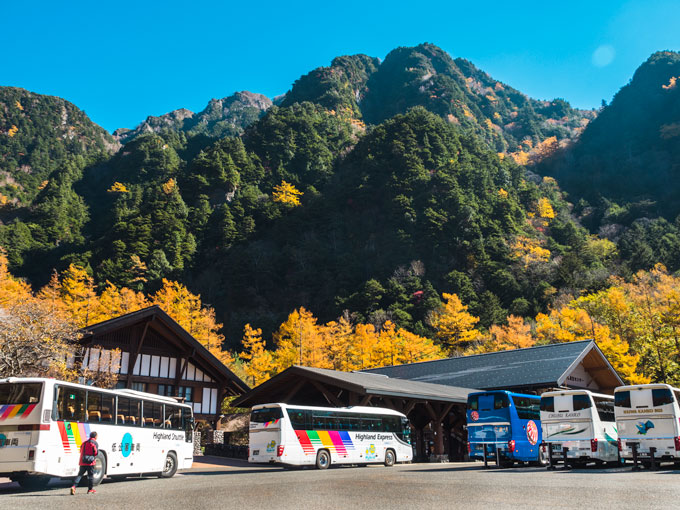
You’ll be eager to set off on your Kamikochi hiking excursion right away. But don’t run off just yet: you cannot board a bus leaving Kamikochi Bus Terminal without a numbered ticket!
As soon as you arrive, go to the ticket window (it’s the building with the light brown roof) to request a numbered ticket for your planned return time.
The staff speak limited to no English, and the boarding announcer calls tickets in Japanese. Thus, it’s very important that you write down or remember the Japanese translation for your desired departing time and ticket number!
RELATED: 23 Essential Travel Terms and Phrases You Need to Memorize
The ticket number and departure time will be printed in English, so you just need to know how to say (and listen for) Japanese numbers. Here’s a great reference that you can study and save for offline use.
The buses to Shin-Shimashima and Matsumoto depart from stall 4. There are also English signs that show the destinations.
Make sure you get back to the bus terminal 15 minutes before your departure time, as this is when they start calling ticket numbers for boarding. If you miss your designated bus time, you’ll have to wait for the next bus.
The last bus departs Kamikochi at 5:30pm, so I recommend taking the 4pm bus or risk getting stuck in the park!
FYI, it’s possible to board the bus at a stop after the terminal (ex. at Taisho Pond or the Imperial Hotel), but the bus might be full. It’s best to board at the terminal to ensure you get a seat.
Save me for later!
Kamikochi Hiking Highlights
Mt. Yakedake
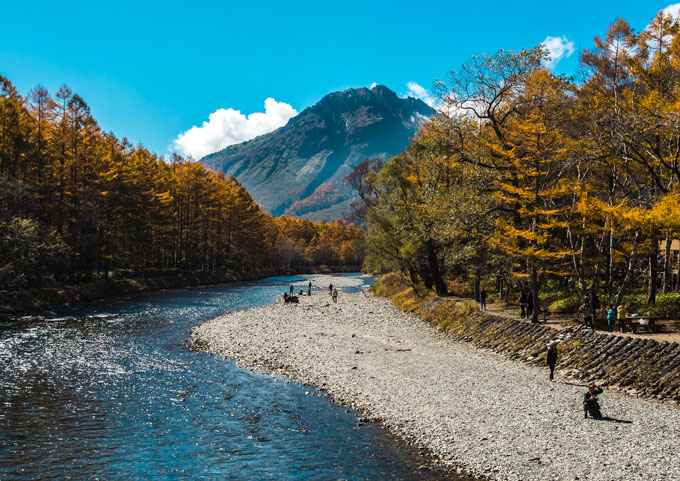
Yake-dake (also known as Mount Yake) is the only active volcano in the Northern Japan Alps. It’s part of the Hida Mountain chain that runs between Matsumoto and Nagano. With proper gear and precaution, you can hike to the summit of Yakedake to see the smouldering crater.
Its underground lava provides heat for the various onsen in Kamikochi.
Azusa River
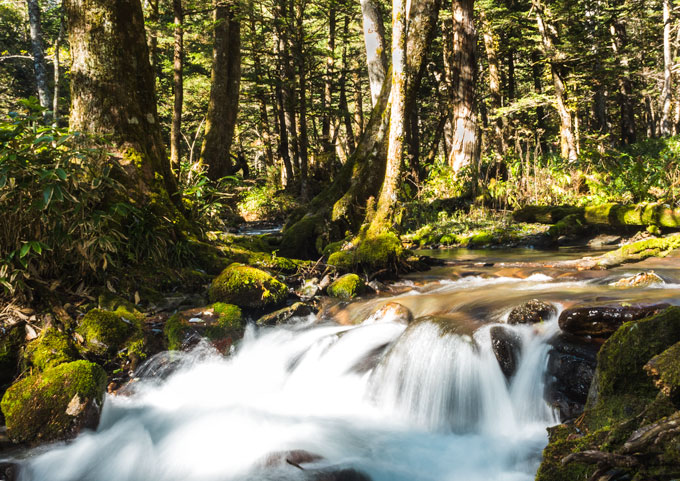
The pure waters of the Azusa River run the length of Kamikochi. As you pass through the park, you’ll see the water change from gentle streams to flowing rapids to stagnant marshes.
Taisho Pond
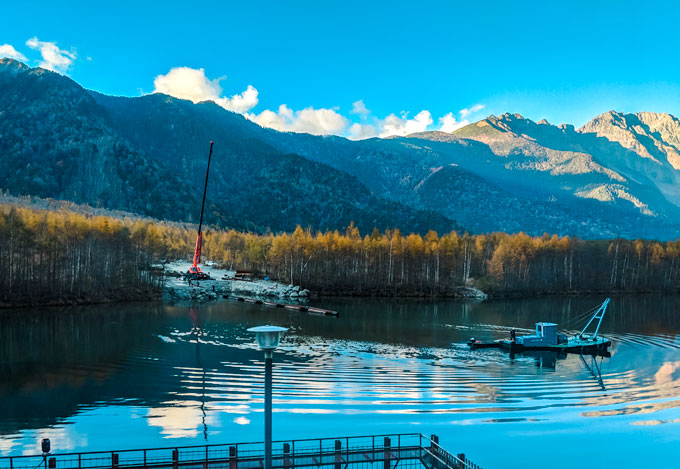
In the early 1900s, Mt. Yakedake erupted and dammed the Azusa River, forming Taisho Pond. This picturesque area is best known as a reflection pond for Mt. Yakedake and the surrounding golden larch trees.
Kappa Bridge
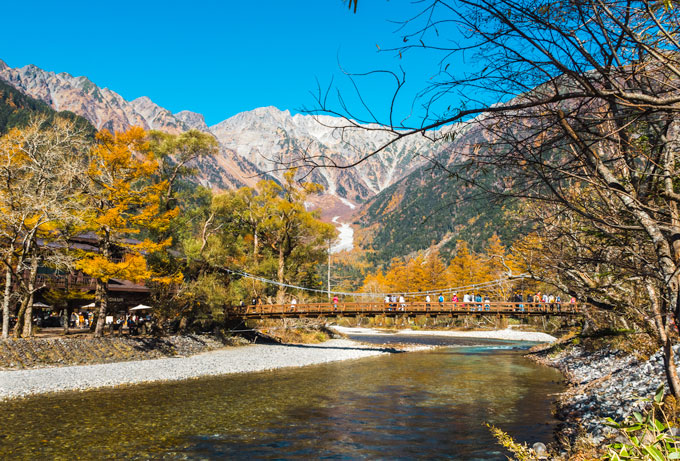
Perhaps the most iconic landmark of Kamikochi, Kappa-bashi’s orange timbers span the Azusa River. It’s a favorite spot for sightseers and photographers and has become an symbol of the park itself.
The bridge is named after the kappa, a type of water spirit from Japanese folklore. Keep your eyes peeled for the green, human-looking creatures with turtle shells as you cross (they’re said to like cucumbers).
Hotaka Inner Shrine
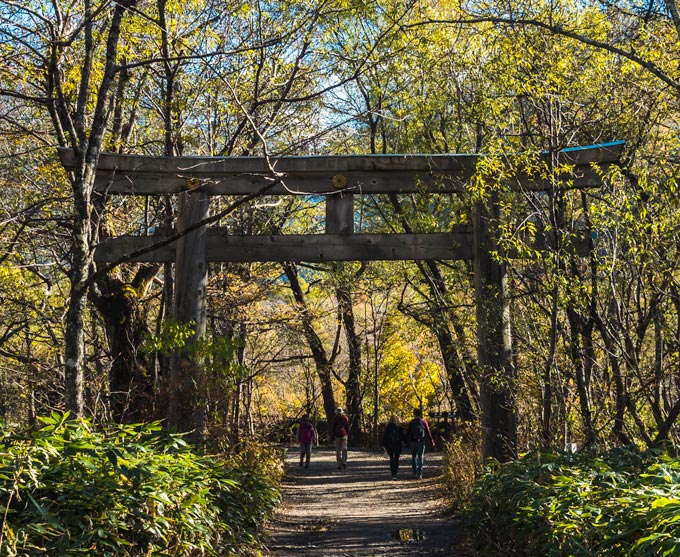
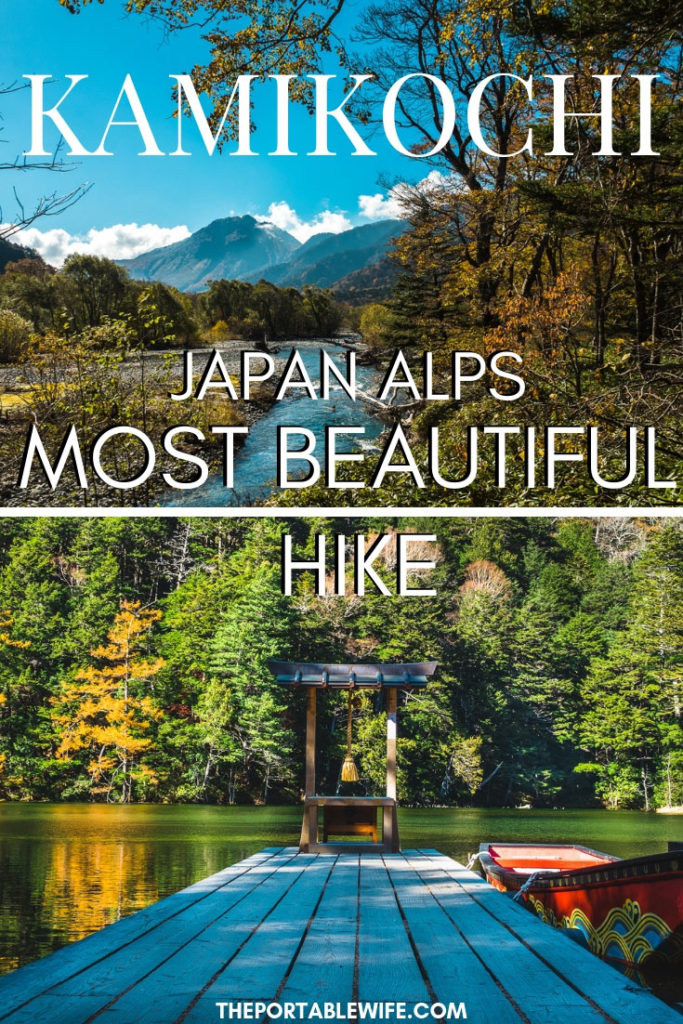
This mountain Shinto shrine is located just off of Myojin Pond. Visitors who pay the 300 yen admission fee for Myojin Pond can see the famous miniature shrine and bell at the end of the wooden dock.
Myojin Pond
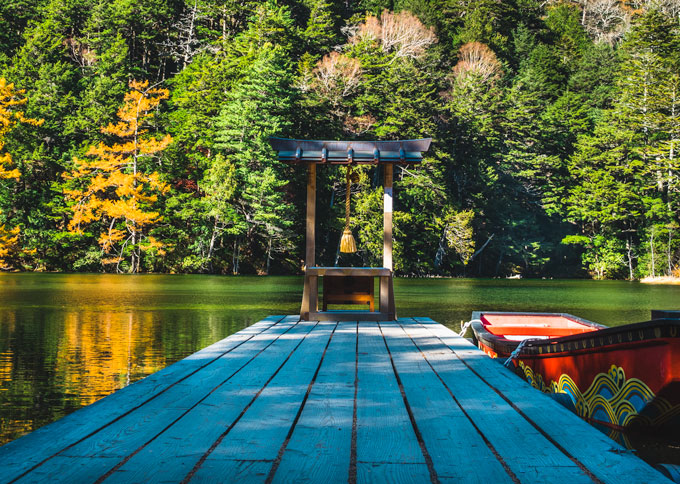
Myojin Pond is one of the most beautiful places in Kamikochi. Its tranquil waters, rocky outcrops, and foliage make it feel like a Japanese garden in nature. It’s also home to the Hotaka Shrine’s dockside bell.
Myojin Bridge
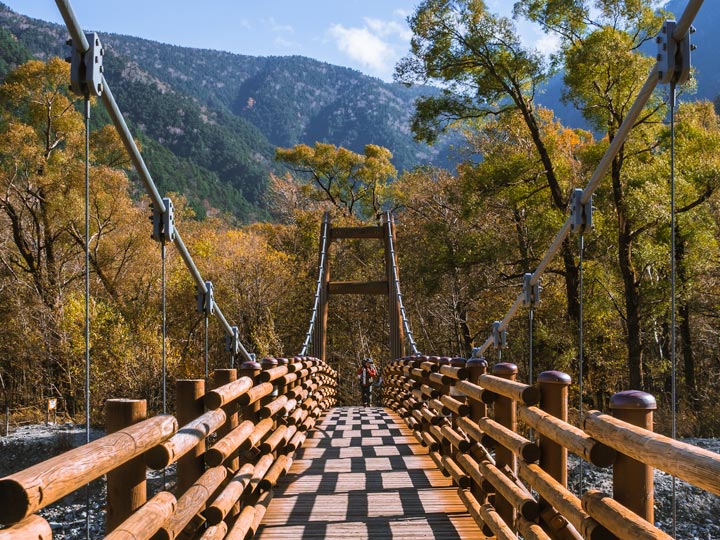
Located about 3km north of Kappa Bridge, this impressive orange wood suspension bridge is perfectly aligned to the peak of Myojindake.
Half Day Kamikochi Hiking Route
- Start at the bus terminal.
- Head towards the riverfront path and take a right. Follow signs for Kappa Bridge.
- Cross Kappa Bridge and head right onto the main trail.
- Walk about 3km on the main path towards Myojin Pond.
- Pass beneath the torii gate on your left to visit the inner Hotaka Shrine. Pay the 300 yen admission fee to enter Myojin Pond.
- Walk around the pond area and exit the way you came.
- After the torii gate, turn left on the main trail. Follow signs for Myojin Bridge.
- Turn right off the path and cross Myojin Bridge. If you’re hungry, stop in one of the cafes in this area for a meal.
- Continue past the cafes and lodge on the main path.
- After about 2.5km, you’ll reach Konashidaira campsite. From here, it’s an easy 10 minute walk back to the bus terminal.
Tips for Japanese Alps Hiking in Kamikochi Japan
- Path conditions can change rapidly. You might be on a dry, smooth path one minute, and slip on a tree root or mud patch the next. Always watch the ground in front of you.
- Don’t be surprised if Japanese hikers greet you as you cross paths. I must have said Konnichiwa at least 30 times during my hike, and I thoroughly enjoyed it.
- Plan to carry your trash and recycling with you. The only recycling bins I saw were at the Konashidaira campsite, and I never saw a trash can. Even the bathrooms have plastic bags for women to take their trash back with them.
- There are cafes and food vendors at Kappa Bridge, Myojin Pond, and the bus terminal. I had an amazing curry-filled fried bun from the vendor next to the ticket counter. Though some take credit cards, others are cash only.
- There are no ATMs in Kamikochi, so bring enough yen for your meals!
- You can get off the Matsumoto/Shin-Shimashima Alpico bus before it arrives at Kamikochi Bus Terminal. It’s a 1 hour walk to Kamikochi Bus Terminal from the Taisho Pond stop. If you’re only in Kamikochi for a half day hike and don’t have time for the pond, sit on the left side of the bus approaching Kamikochi, or the right when departing. You’ll have a great view of Taisho Pond from the window.
My Favorite Japan Travel Planning Books
These books win my travel blogger Seal of Approval for vacation planning:
I hope this Kamikochi Japan guide helps you plan your perfect hiking experience. If you’re working on a hiking the Japanese Alps itinerary or want to learn more, let me know in the comments section!

I’d love to visit Japan one day, but never thought about it as a hiking destination – and I love hiking! I’ll add this area to my itinerary for sure!
That’s great to hear, Kathi! I never thought much about hiking in Japan until my first visit. I did a hike in Kamakura, and I had so much fun that my second trip was planned around hiking in the Japan Alps 🙂
Detailed and clearly written guide.
Thank you Chelsea
Happy I could help, Oren!
Hi, thank you so much for the tips! Do you know if it’s possible to get a round trip taking the direct bus at 5.30am and getting the train transfer option on the way back? I don’t want to stay until 4pm (have to get to Kanazawa).
How long does your itinerary for the half day hike take? Is that the five hour highlights that you mentioned?
Can’t wait to go here!
Happy to help, Chauncey! Your bus ticket will be good for any return trip that day, so you can depart the park earlier and do the train transfer option at Shin-Shimashima. Just be sure to go straight to the ticket validation window when you get off the bus to ensure you get your desired boarding time. If you follow the itinerary I laid out, you can complete the hike in about 3.5 hours (or faster if you don’t dawdle). Adding Taisho Pond will take an extra 90 minutes or so. I hope you have a great visit!