After numerous trips across the Land of the Rising Sun, I can safely say that this Shirakawa-go day trip itinerary was the best travel experience I’ve had in Japan. From the scenic bus ride through the mountains to the steaming bowl of miso ramen that chased the chill from our bones, every moment of our Shirakawa-go journey was pure magic.
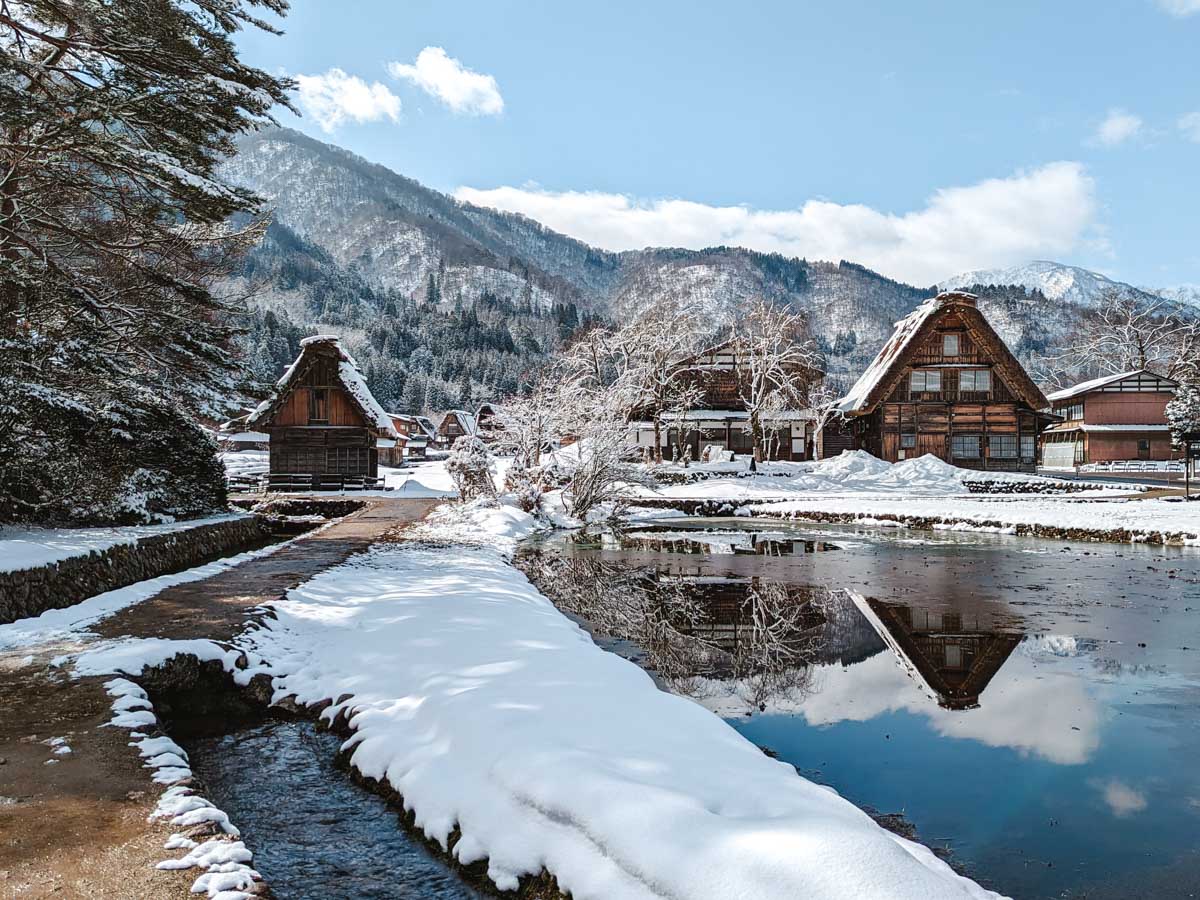
I hope this guide makes it easy for you plan your own enchanting escape!
Why is Shirakawa-go worth visiting?
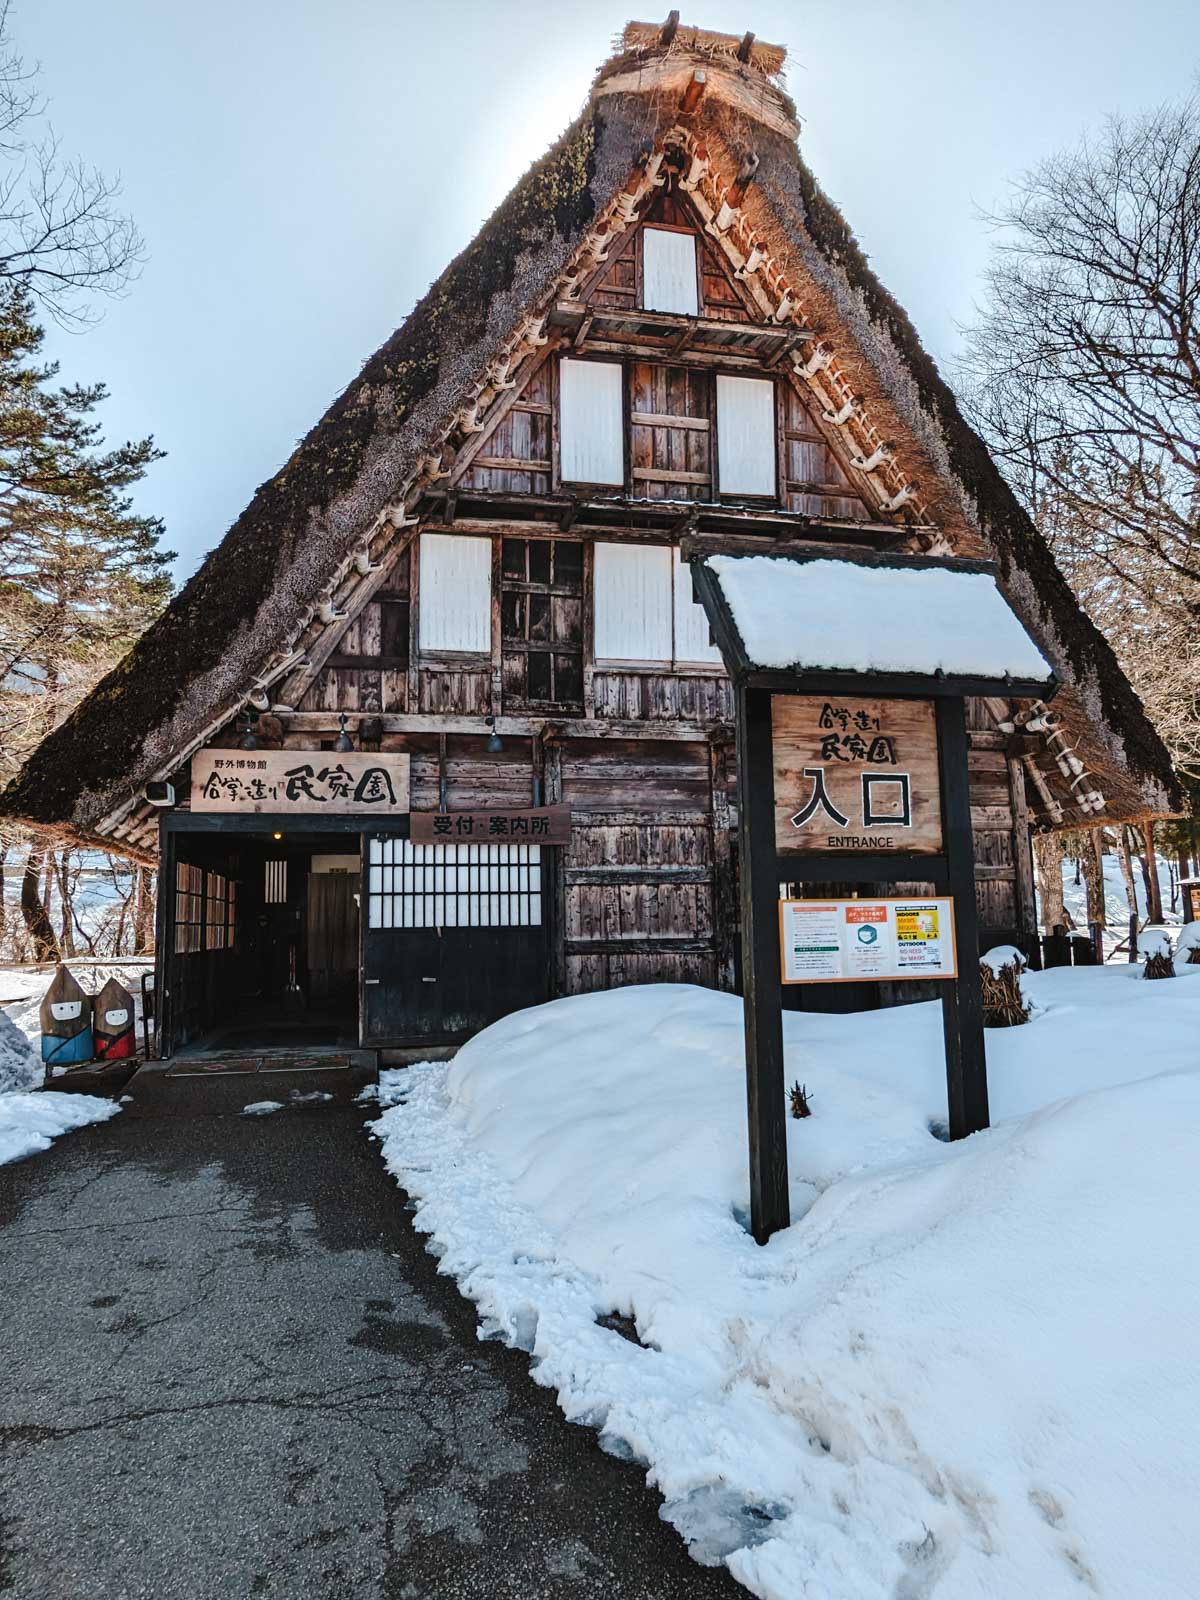
Shirakawa-go is a 1,000-year-old village nestled in a moutain valley of Gifu Prefecture. Thanks to its remote location, the area remained relatively undisturbed during Japan’s long and occasionally destructive history, leaving its beautiful and unique Gassho-style farmhouses preserved to this day.
Along with its neighbor, Gokayama, it was placed on the UNESCO World Heritage list in 1995.
While the thatched-roof A-frame buildings are the stars of the show, it’s the stunning landscape as a whole that makes Shirakawa-go worth visiting. Between the towering pine trees, rice paddies, undulating streams, and snowy mountain backdrop, there are few places in the world that rival the village’s “stuck out of time” appearance.
The tricky thing about visiting Shirakawa-go is that there are no nearby train stations. Instead, visitors need to travel by highway bus or drive themselves, which means advanced planning and a bit of courage are required to get here. But I promise–the extra steps are absolutely worth it.
If you want to travel Japan off the beaten path, this is the destination for you!
When is the best time to take a Shirakawa-go day trip?
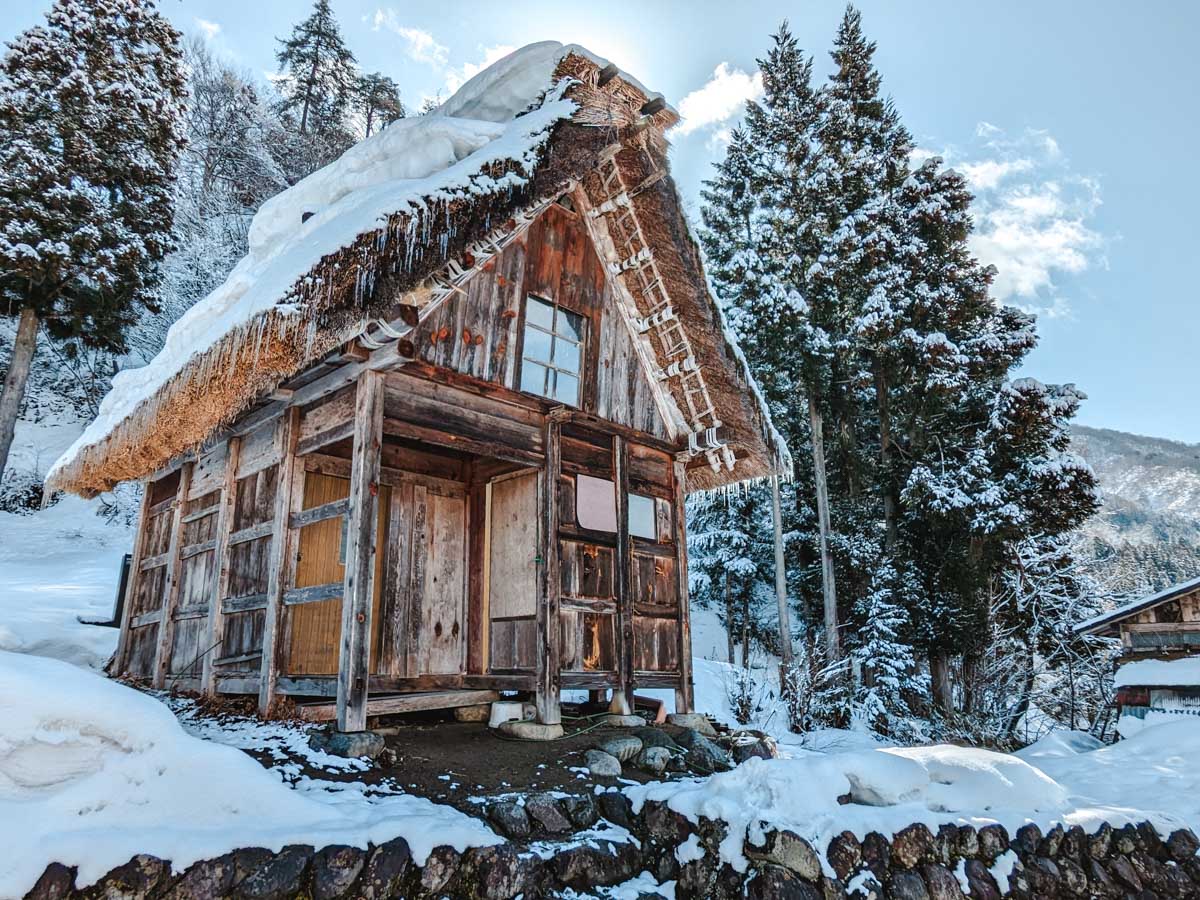
The village looks lovely in every season, but I’d argue that winter is the best time to visit Shirakawa-go. Receiving over 30 feet of snow annually, it’s the ideal spot to go walking in a winter wonderland.
That being said, plan your Shirakawa-go day trip for early December or late February/very early March to boost your chances of seeing snow AND not getting delayed (or cancelled) due to inclement weather.
We visited the first week of March, and as luck would have it, there was a pristine blanket of snow covering the entire village when we arrived. It was mesmerizing to watch the steam rise from the thatched roofs and see sparkling flakes drift down from the trees whenever a slight breeze blew.
If a winter trip isn’t in the cards, my second choice would be early summer when the rice paddies turn vibrant green and puffy hydrangeas burst into bloom. Thanks to its valley location, it’s the perfect spot to escape the heat that plagues places like Tokyo and Osaka that time of year.
Despite its off-the-beaten-track location, Shirakawa-go village is one of the most famous things in Japan and sees an influx of visitors in late summer and early autumn. Keep that in mind if your goal is to avoid the crowds.
How much time do you need in Shirakawa-go?
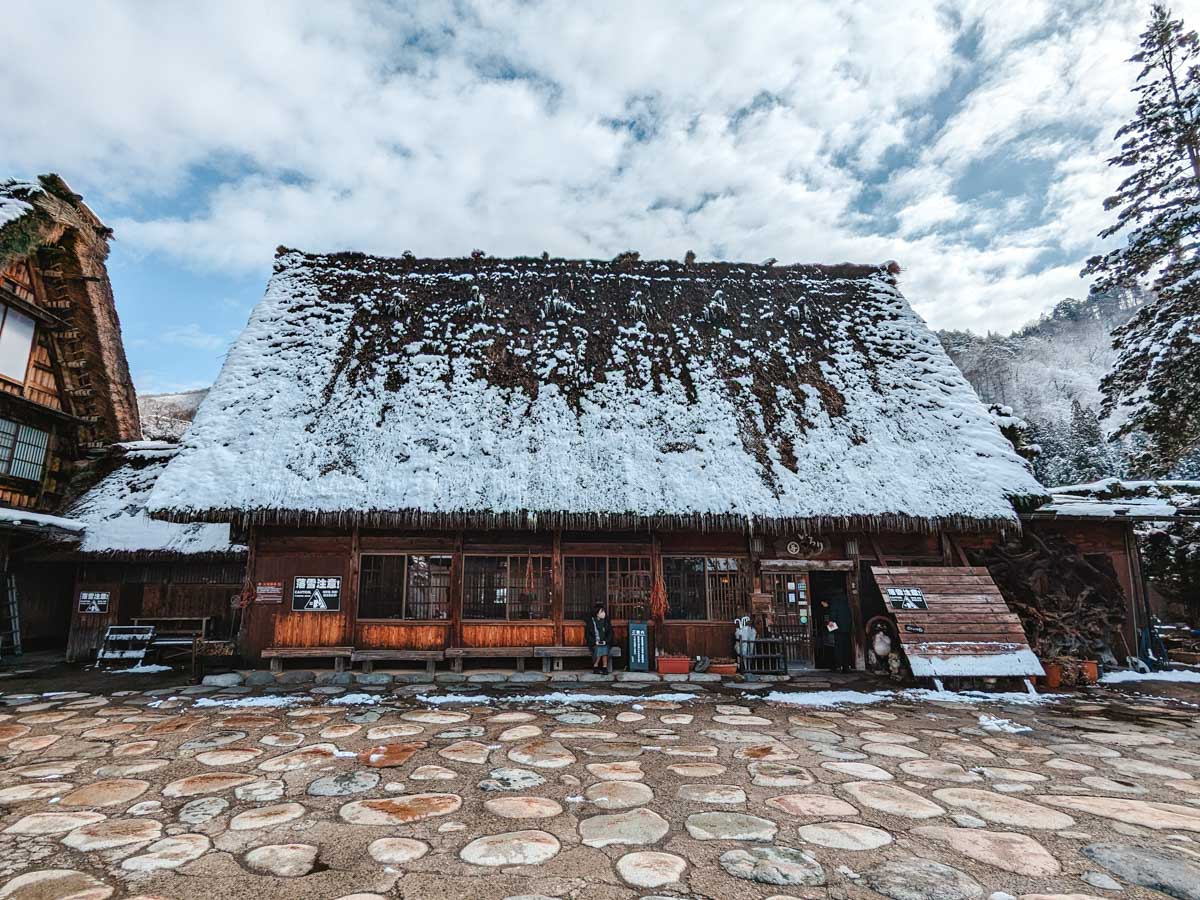
You can thoroughly explore the sights of Shirakawa-go in around 5 hours thanks to its compact size. A day trip to Shirakawa-go is enough time to walk the main village, enter multiple Gassho house museums, and get away from the crowds on some of the side roads and overlook spots.
We spent close to 6 hours here because of the out-of-the-way (and totally worth it) trek to the village outskirts for a bowl of ramen. It was one of the best bowls of ramen I’ve had in my life, but you can cut that bit from the Shirakawa-go itinerary below to save time.
Regardless of where you’re traveling from, I highly recommend taking the first bus available. The village fills up with tourists as the day goes on, and it can quickly lose its charm if you’re stuck behind the crowds piling out of tour buses near midday.
Getting to Shirakawa-go from Kanazawa
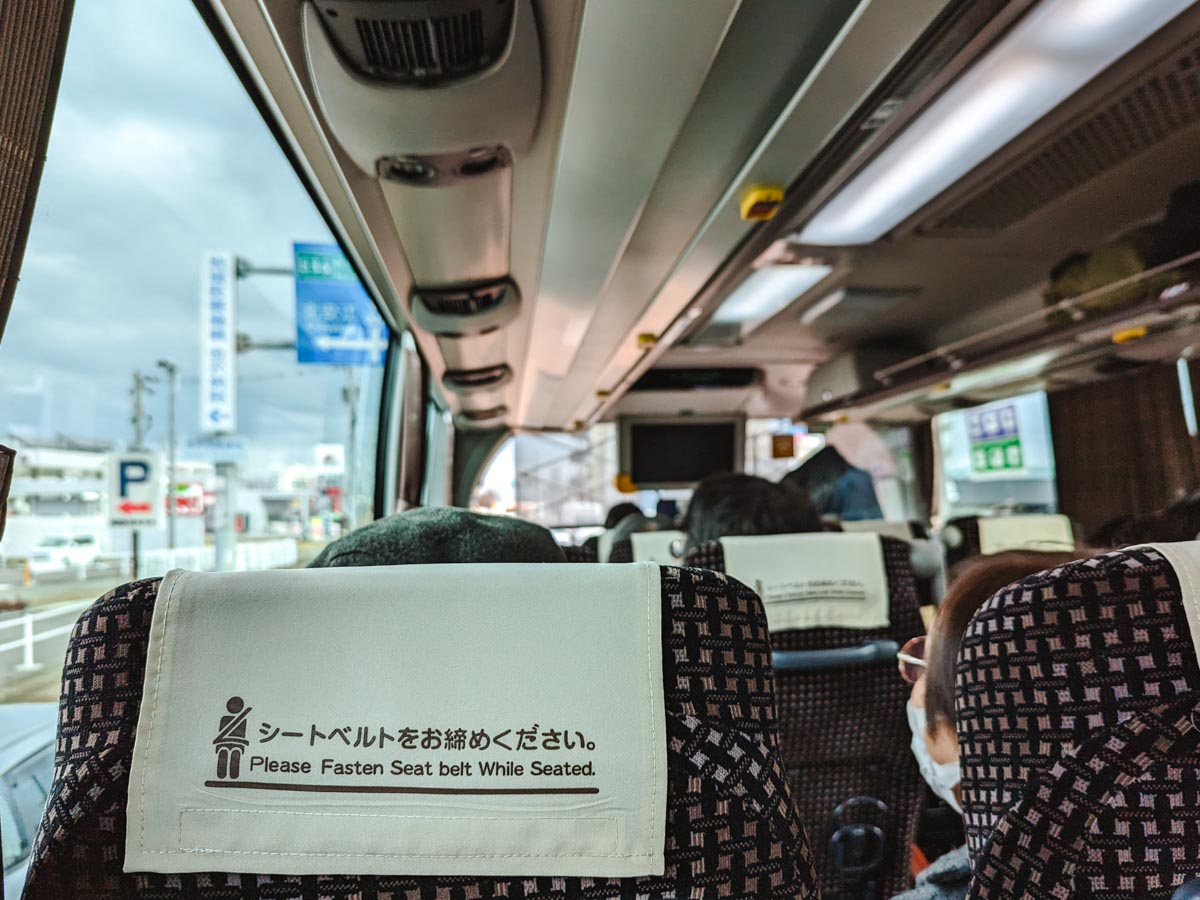
Taking a day trip to Shirakawa-go from Kanazawa is easy thanks to the express bus, which takes about 1 hour 25 minutes minutes each way.
Nohi Bus operates about 9 buses between Kanazawa and Shirakawa-go. You must have an advanced reservation to ride the bus, and I highly encourage you consult the timetable and make your reservation online.
Tickets can be booked up to a month in advance, and if you’re traveling on the weekend or during the busy season, I would buy your tickets as early as possible. When we visited on a Friday in early March, and the attendant said every bus returning to Kanazawa that afternoon and evening was fully booked!
Once you’ve paid the fare, you’ll receive a confirmation email that includes a reservation number and your seat assignments. Make sure you save a copy of this either as a screenshot, PDF, or even print it out, as you cannot board without it.
Kanazawa Bus Terminal is located just outside the station, and all of the stops are signposted in both English and Japanese. The bus for Shirakawago departs from the Number 4 bus stop.
If you’re worried you’re in the wrong place, there will also be a digital display on the side of bus that says “This bus is for Shirakawago”, and it will be announced in Japanese. It’s hard to miss!
If for some reason you’re bringing luggage on your Shirakawa-go day trip, there is room to store it below the bus. However, there is very limited luggage storage once you’re in Shirakawa-go, so avoid it if possible.
Be ready to show your email confirmation to the attendant before boarding, and then head to your reserved seat to enjoy the scenic ride.
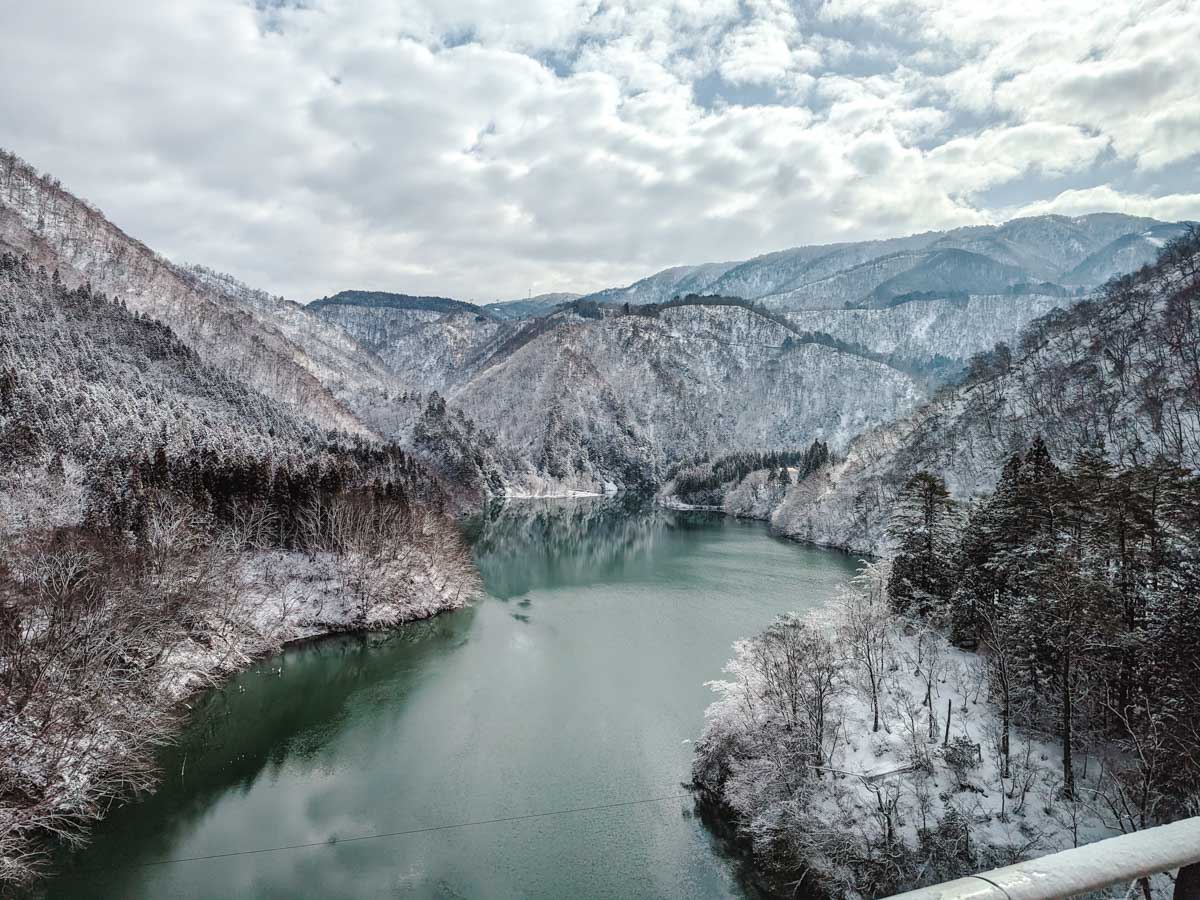
Getting to Shirakawa-go from Takayama
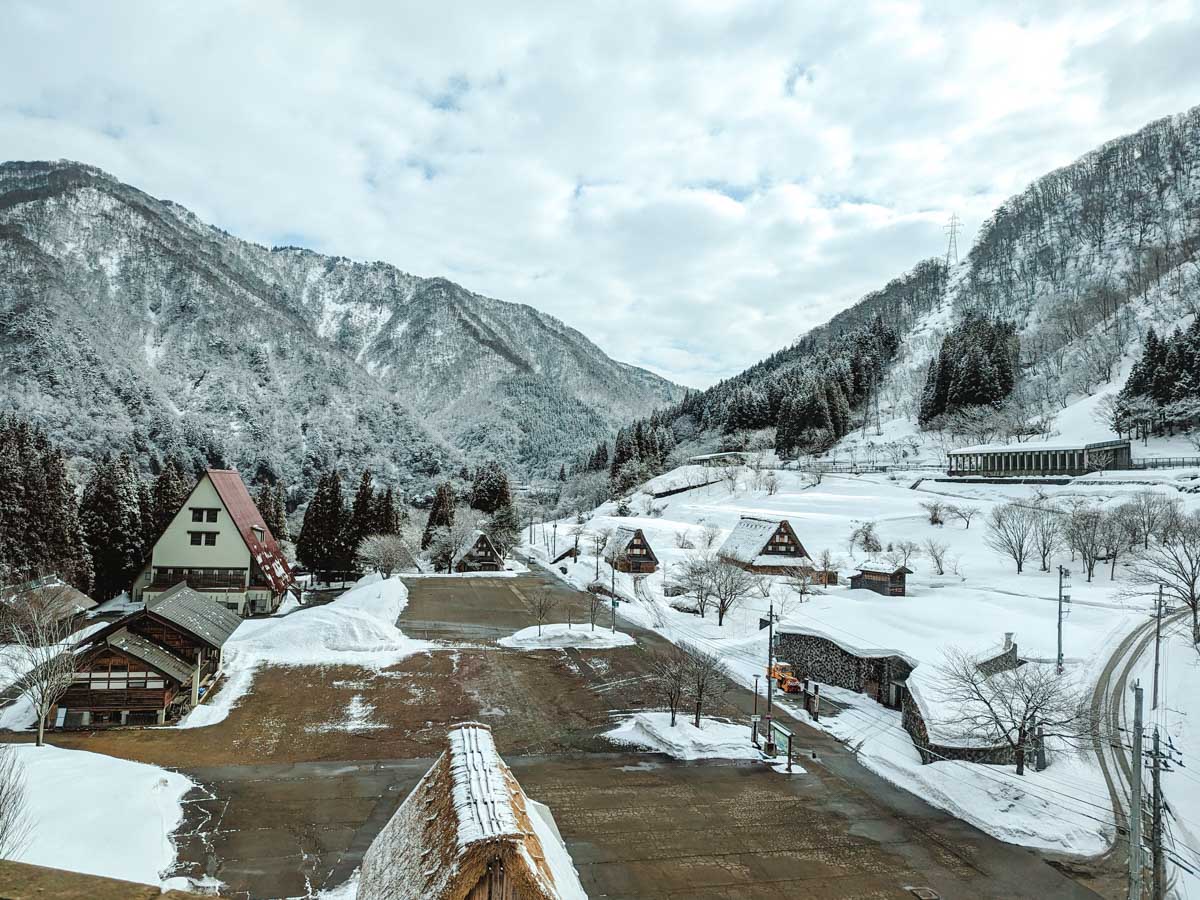
Nohi Bus also operates the bus route between Shirakawa-go and Takayama Bus Terminal, which takes about 50 minutes each way.
Because of the short journey time and additional buses that run this section of the route–some of which don’t require an advanced reservation–it’s slightly easier to take a day trip from Takayama to Shirakawa-go vs. the other popular jumping-off points. That being said, it’s the most traveled route to the UNESCO site, so reservations are strongly encouraged!
Check the timetables and fares and make your seat reservations on their official site. Remember to save a copy of your emailed confirmation to your phone or print it out prior to the journey.
The Takayama Bus Terminal is just outside the train station. The signs for each bus stop are labeled in Japanese and English, so look for the sign that says “Shirakawago” (it should be Number 4 but it may change in the future).
Pro tip: If you’re based in/near Takayama, I highly recommend a day trip to Kamikochi for some gorgeous and accessible hiking in the Japanese Alps.
Getting to Shirakawa-go from Nagoya
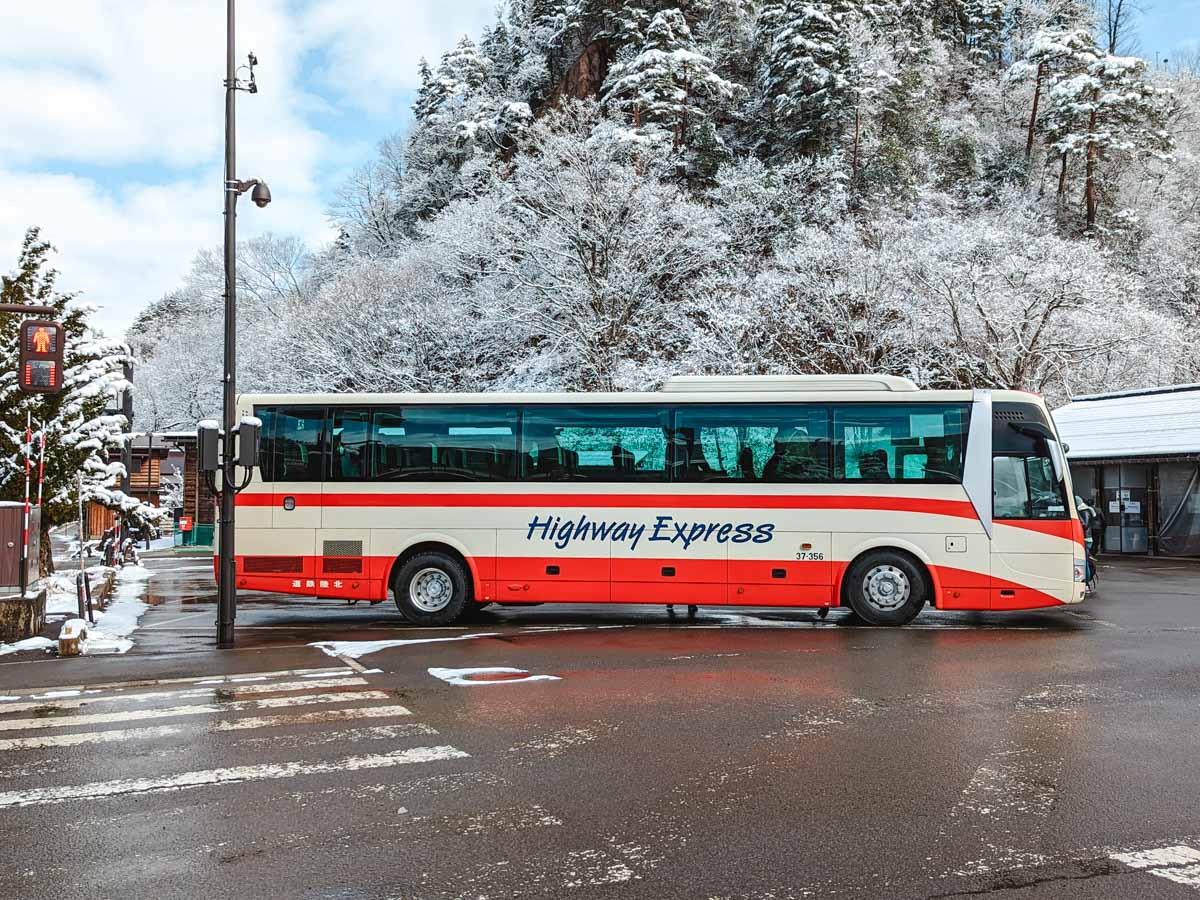
There are a few different operators that run buses between Nagoya and Shirakawa-go. However, you can use the Gifu Bus website to view all of the timetimes and fares and make the mandatory reservations.
Of the three popular Shirakawago day trip routes, Nagoya has the fewest buses and the longest journey time. It takes around 3 hours each way, and you’re more likely to encounter delays and detours during the snowy season.
Buses depart from Meitetsu Bus Center, which is just outside Nagoya Station.
Can I drive to Shirakawa-go?
Yes, you can drive to Shirakawa-go and park at the Seseragi Park Parking Area. It’s conveniently located next to the Shirakawa-go Gassho-zukuri Minkaen (open air museum).
The fee is 1000 yen for cars (I believe card and cash are both accepted but bring cash just in case). There’s also a tourist information center adjacent to the parking area where you can use the toilet and get English travel info and pamphlets.
What to know before your Shirakawa-go day trip
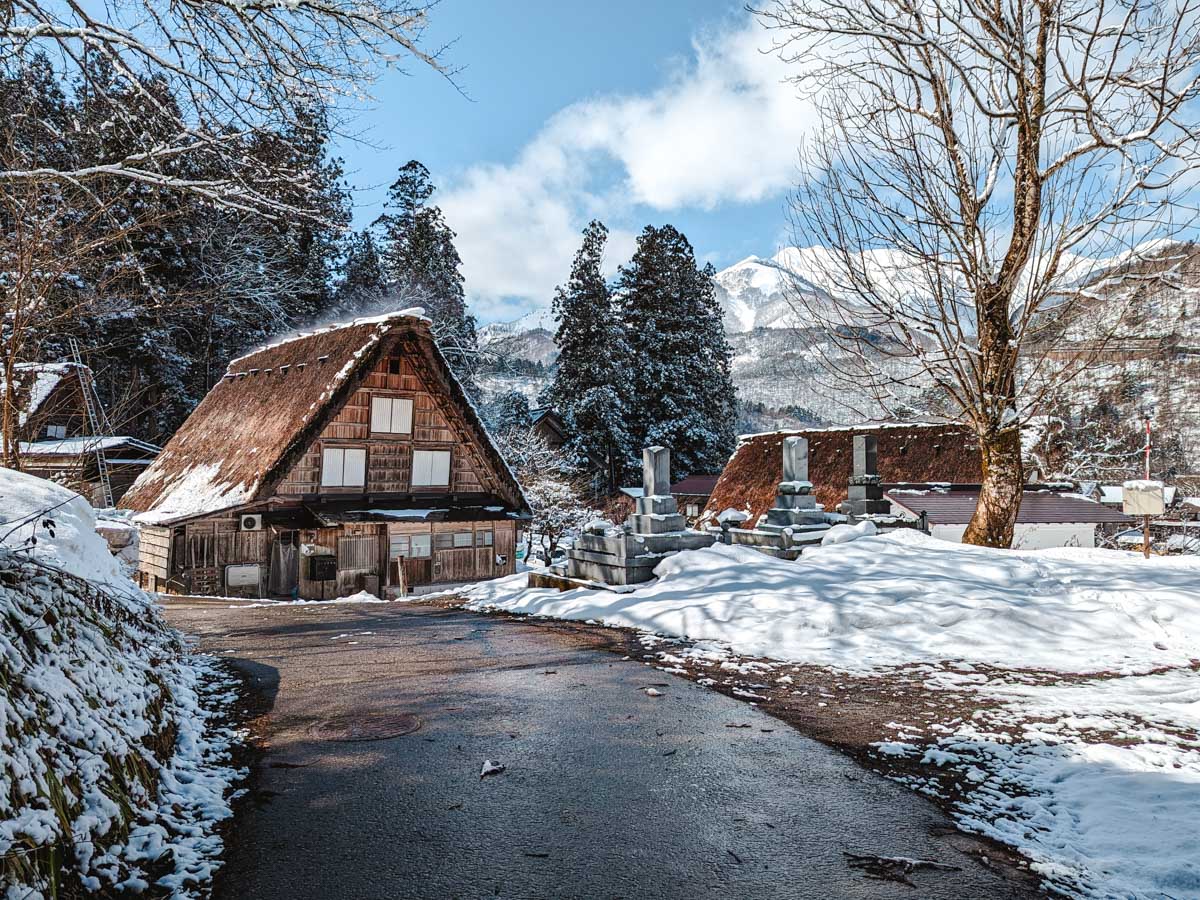
Before you set off for this remote village, read over these tips to maximize your Shirakawa-go day trip itinerary.
- Total Itinerary Cost: 2000 yen (excluding food and transit).
- Business hours for all the spots on this itinerary are 9am to 4pm or 5pm, which works perfectly if you’re taking public transit.
- Bring pleny of cash with you, as most places don’t take card payment.
- While I always recommend learning a bit of Japanese, nearly every place you’ll visit in Shirakawa-go has English signage, pamphlets, menus, and/or an English-speaking staff member. However, there are a couple smaller (and optional) spots on this itinerary where you’ll need to read or speak some basic Japanese.
- If you’re visiting in winter, bring a pair of boots or waterproof shoes to trek through snowy pathways.
- You’ll need to remove your shoes when entering the Gassho houses, so wear good socks or bring a pair to change into.
- Mountain weather is unpredictable and temperatures change a lot during the course of the day, so bring a rain jacket/umbrella and dress in layers.
- There’s a small building behind the bus information center where you can pay to store luggage. Space is limited and there is a list of loose items they will not accept (ex. bottles of liquid), so it’s best to keep your luggage in a coin locker at the station you’re traveling from or at your hotel or have it forwarded to your next accommodation.
- When leaving Shirakawa-go, you need to go through the bus information center building to line up for departure. There are signs above each exit for different stations/cities. A staff member will point out when it’s time to leave and where to line up your luggage to be loaded.
RELATED: Comprehensive Japan Travel Checklist for First-Time Visitors
Save me for later!


Shirakawa-go Day Trip Itinerary
Note that this itinerary is optimized for travelers arriving by bus. If you’re self-driving to Shirakawago, you could follow this guide in reverse as the last destination is adjacent to the car park. Or, you could follow it as written and conclude your Shirakawa-go day trip with a super short walk back to your vehicle.
Ogimachi Castle Observation Deck
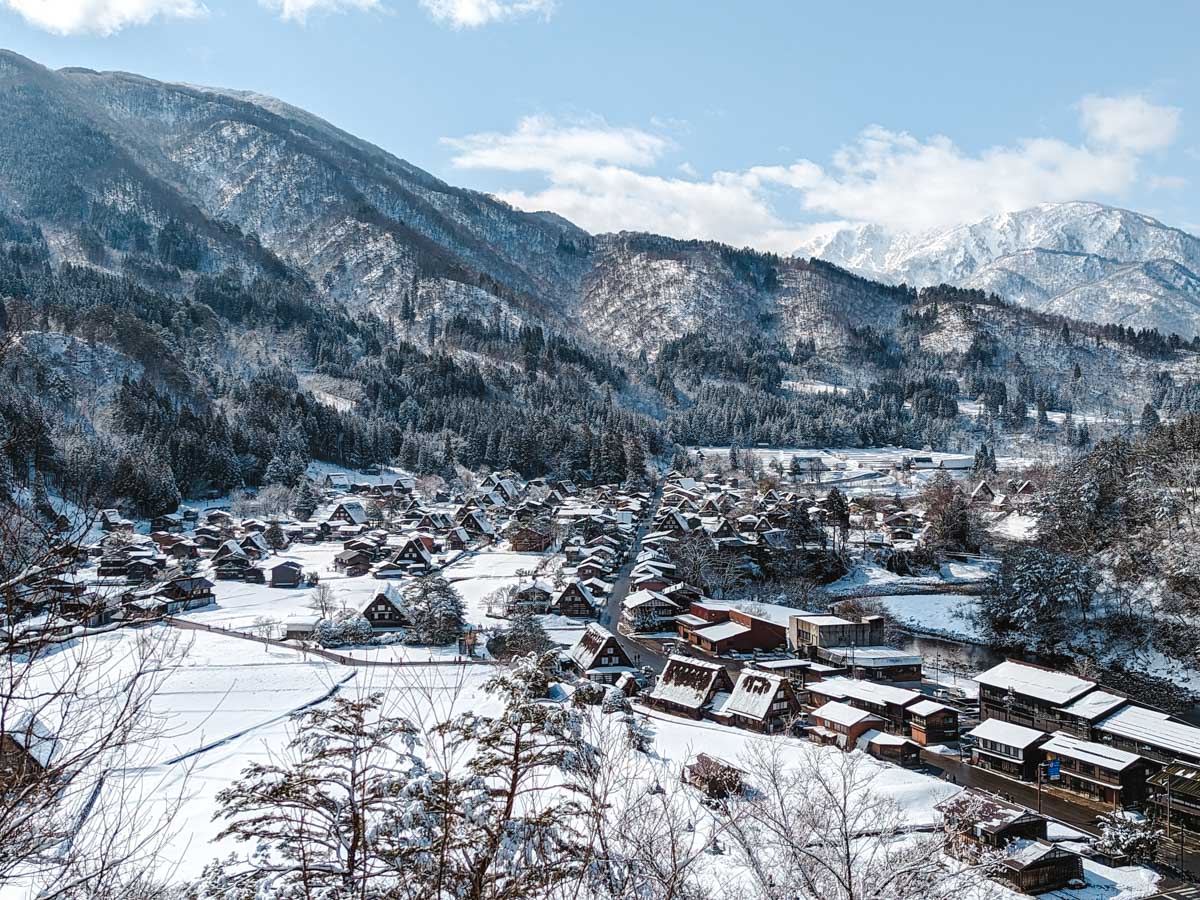
You’ll begin your day of Shirakawa-go sightseeing with a truly spectacular view over the village–and a chance to stretch your legs after the long journey.
Built on top of the former site of Ogimachi Castle, this observation area is a great place to take panoramic pictures of Shirakawa-go against the mountain backdrop. It’s completely free to access and very spacious, so no need to jostle with other visitors to get the best vantage point.
Getting here is easy if you can manage a mild 15-20 minute hike up the well-beaten path. Simply head south from the bus terminal until you reach the fork in the road, where there will be a wooden signpost with directions to turn left to reach the start of the pathway towards the observation areas.
Shiroyama Tenshukaku Observation Deck
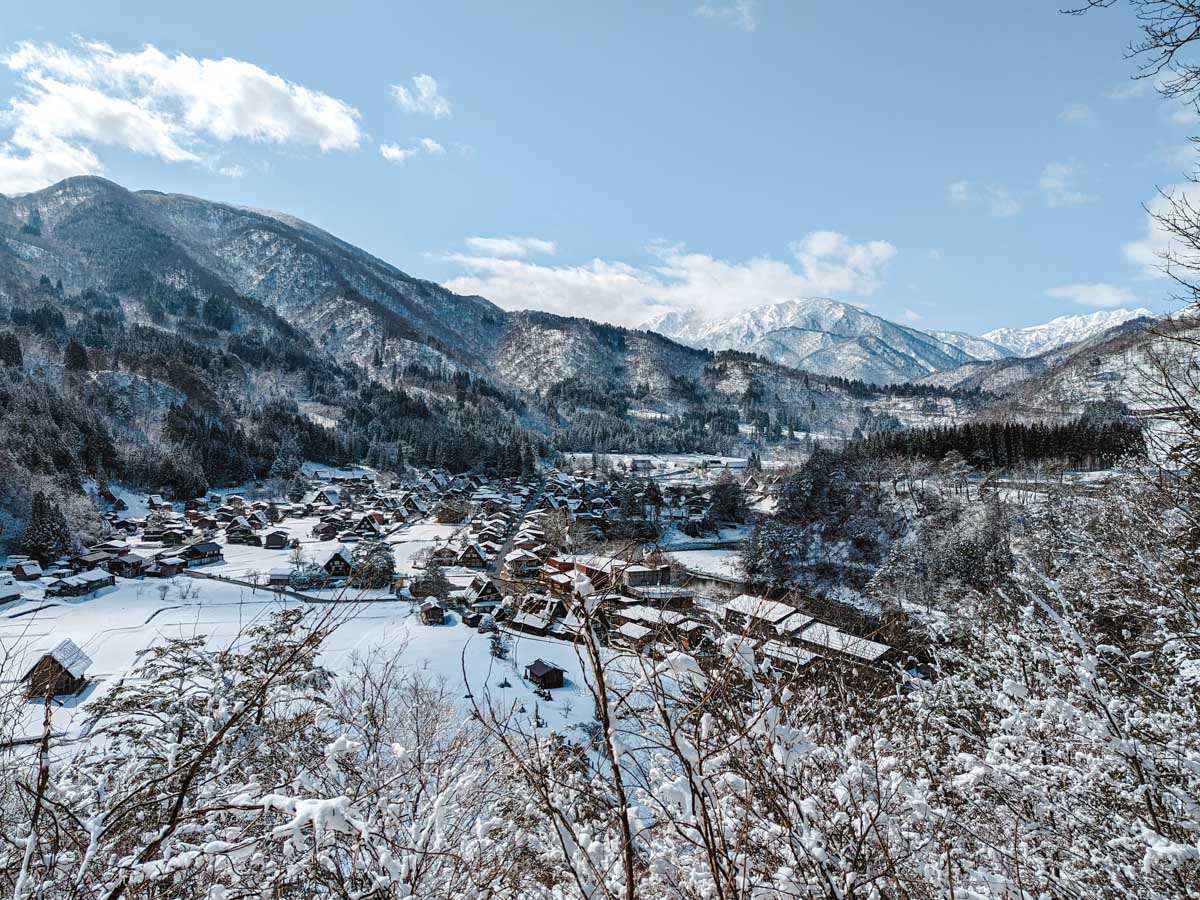
Before heading back down the mountainside, it’s worth walking a few more minutes up to the Shiroyama Tenshukaku Observation Deck. You’ll have a slightly different perspective over the village along with an assortment of vending machines and a small shop/cafe (which may not be open depending on how early you arrive).
After you’ve soaked up the views, head back down the trail and make your way into the village.
Wada House
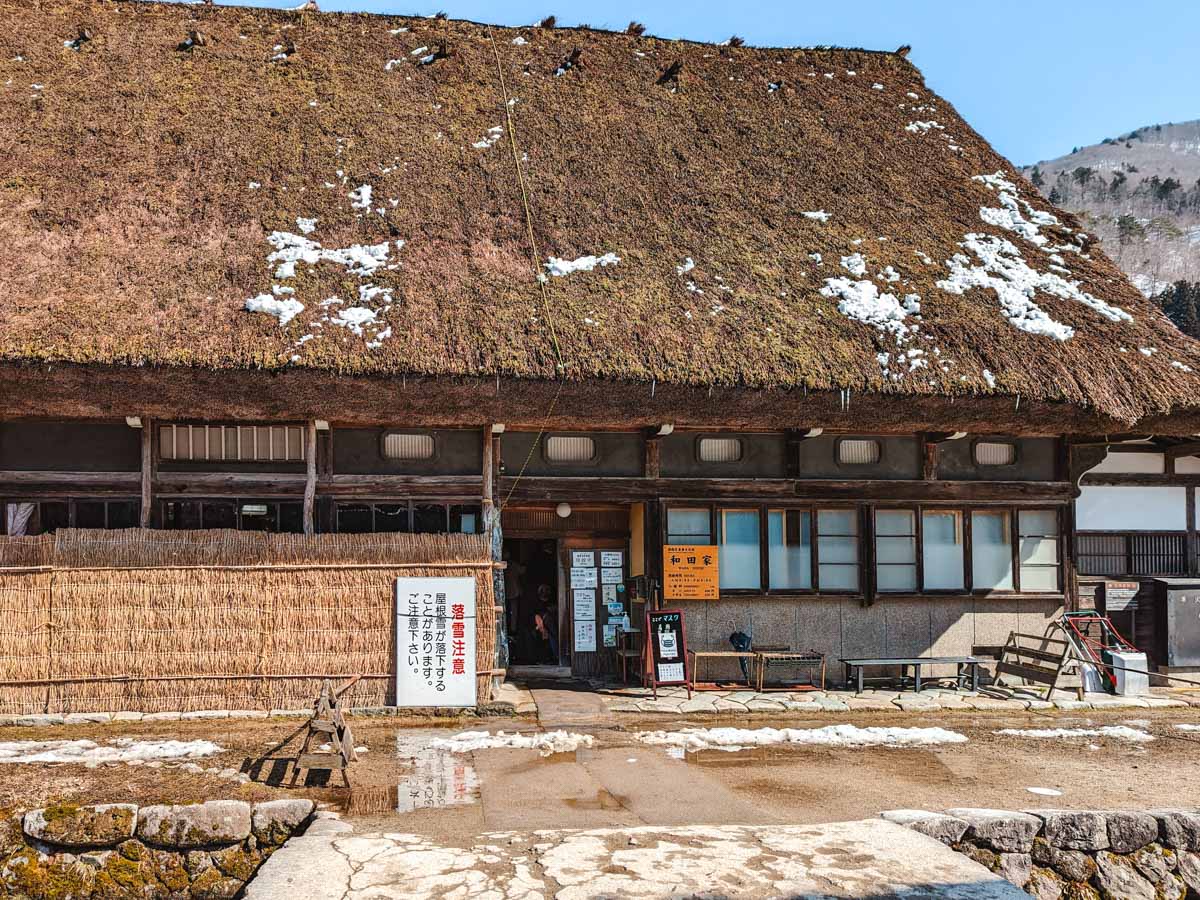
Your first stop in the village proper is Wada House, the largest gassho-zukuri style house in Shirakawa-go. This impeccably-preserved home is estimated to be around 200-400 years old, and the interiors offer a glimpse into what life was like in the village during the Edo period.
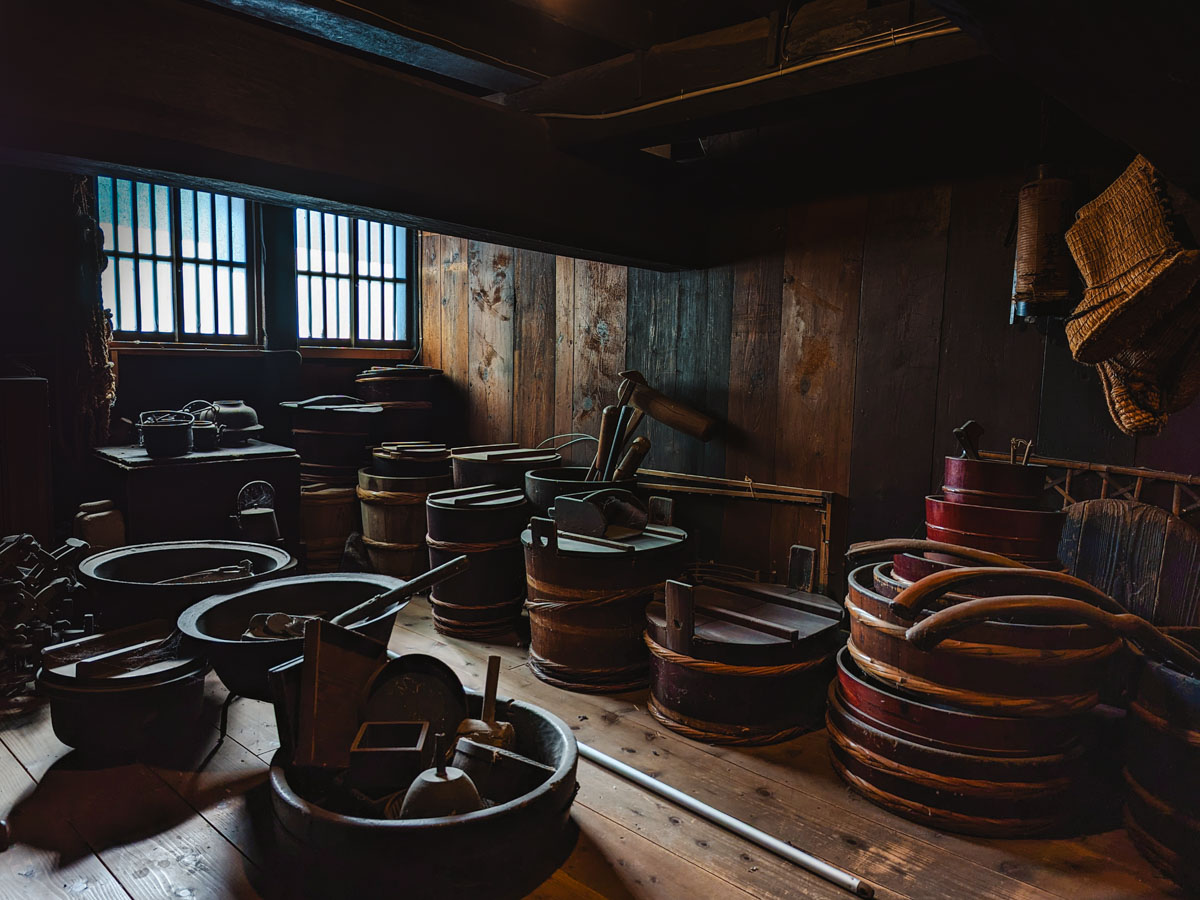
Visitors can explore the first and second floors where the Wada family’s antiques and silk-making equipment are on display. I especially enjoyed the shoji screens and the views from the upper floor windows.
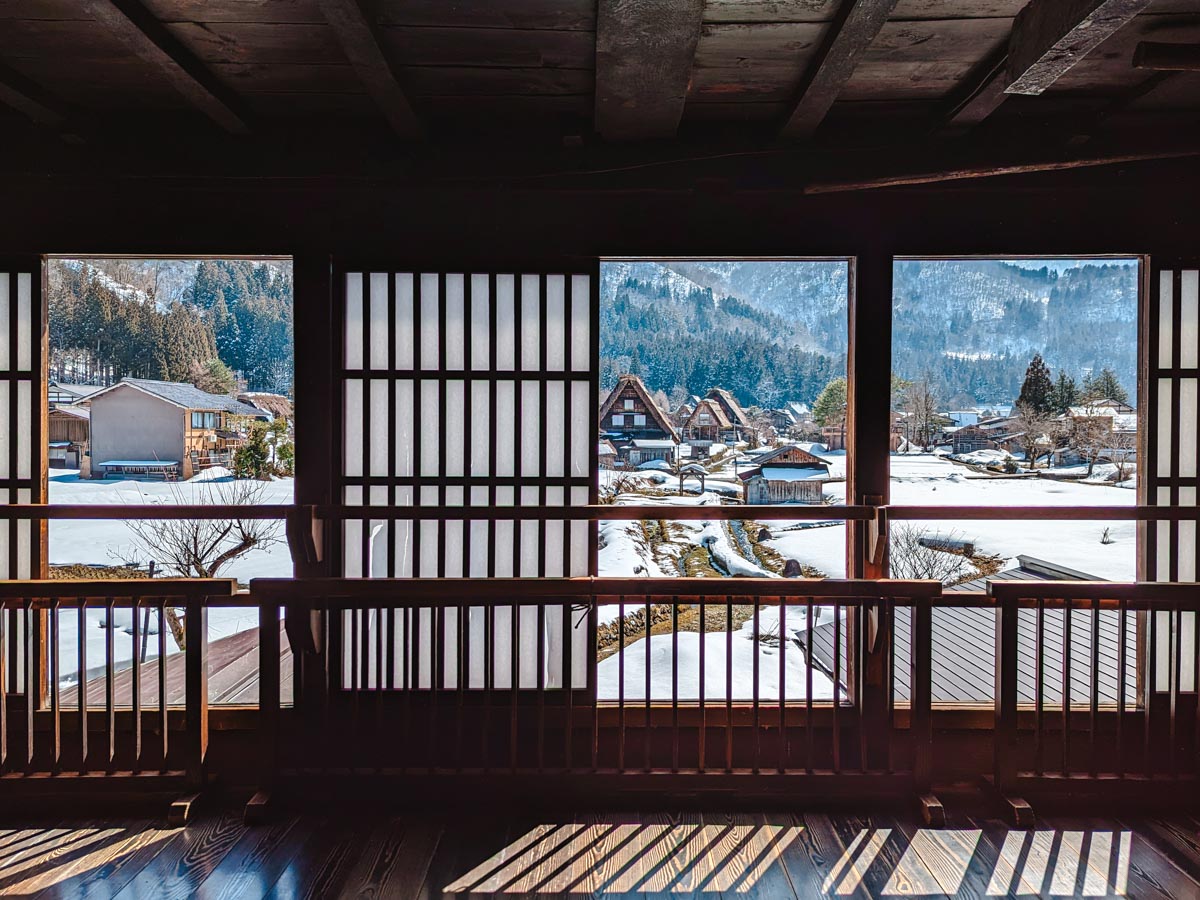
There are also informational placards in both Japanese and English, so you can get even more details about the history of the place and the local culture.
On your way out, you can buy a lovely set of postcards that feature Shirakawa-go across the four seasons.
Admisison costs 400 yen, and you will need to remove your shoes to enter the house.
Kanda House and/or Nagase House
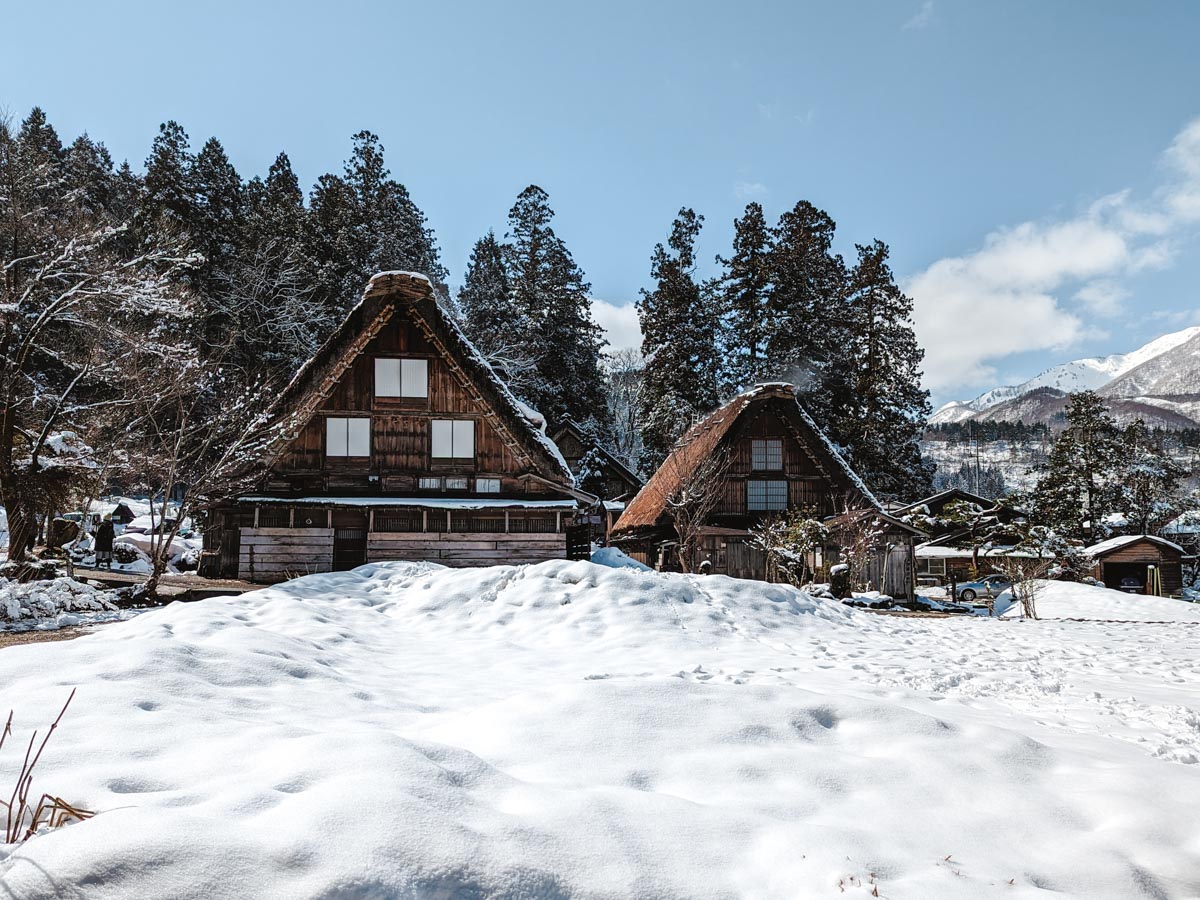
Like Wada House, both Kanda House and Nagase House are wonderfully preserved Gassho houses from the Edo period. Each building showcases a different trade that the generations of families practiced–gunpowder production for Kanda and doctoring for Nagase.
If you have the time and money, both places are worth a visit. However, you could skip Nagase House and spend more time in Kanda, which is quite large and offers great views from its upper floors. Note that Kanda House is closed on Wednesdays, so plan accordingly.
Entry is 400 yen for Kanda House and 300 yen for Nagase house. There are no shoes allowed inside either homes.
Free Exploring
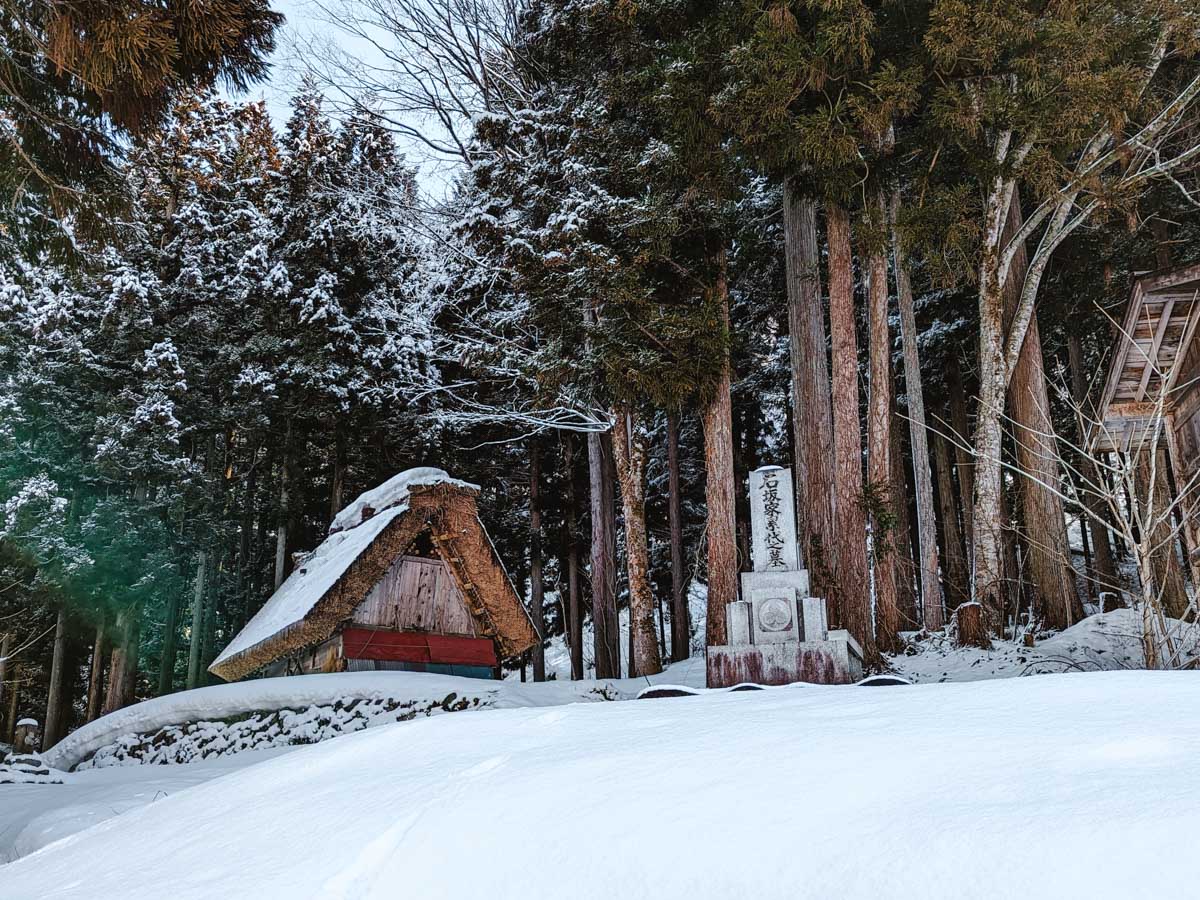
One of the best things to do in Shirakawa-go is break away from the busy attractions and meander around the little side roads. Some of my fondest memories of our trip were the tranquil walks through the tree-lined pathways leading to old residences and tiny shrines.
While the major show-stoppers are located on the main roads, there are plenty of charming Gassho houses and cozy scenes to enjoy off the signposted tourist track. The narrow forest trail that runs along the village’s eastern edge is a particular favorite, especially on a snowy day.
Lunch
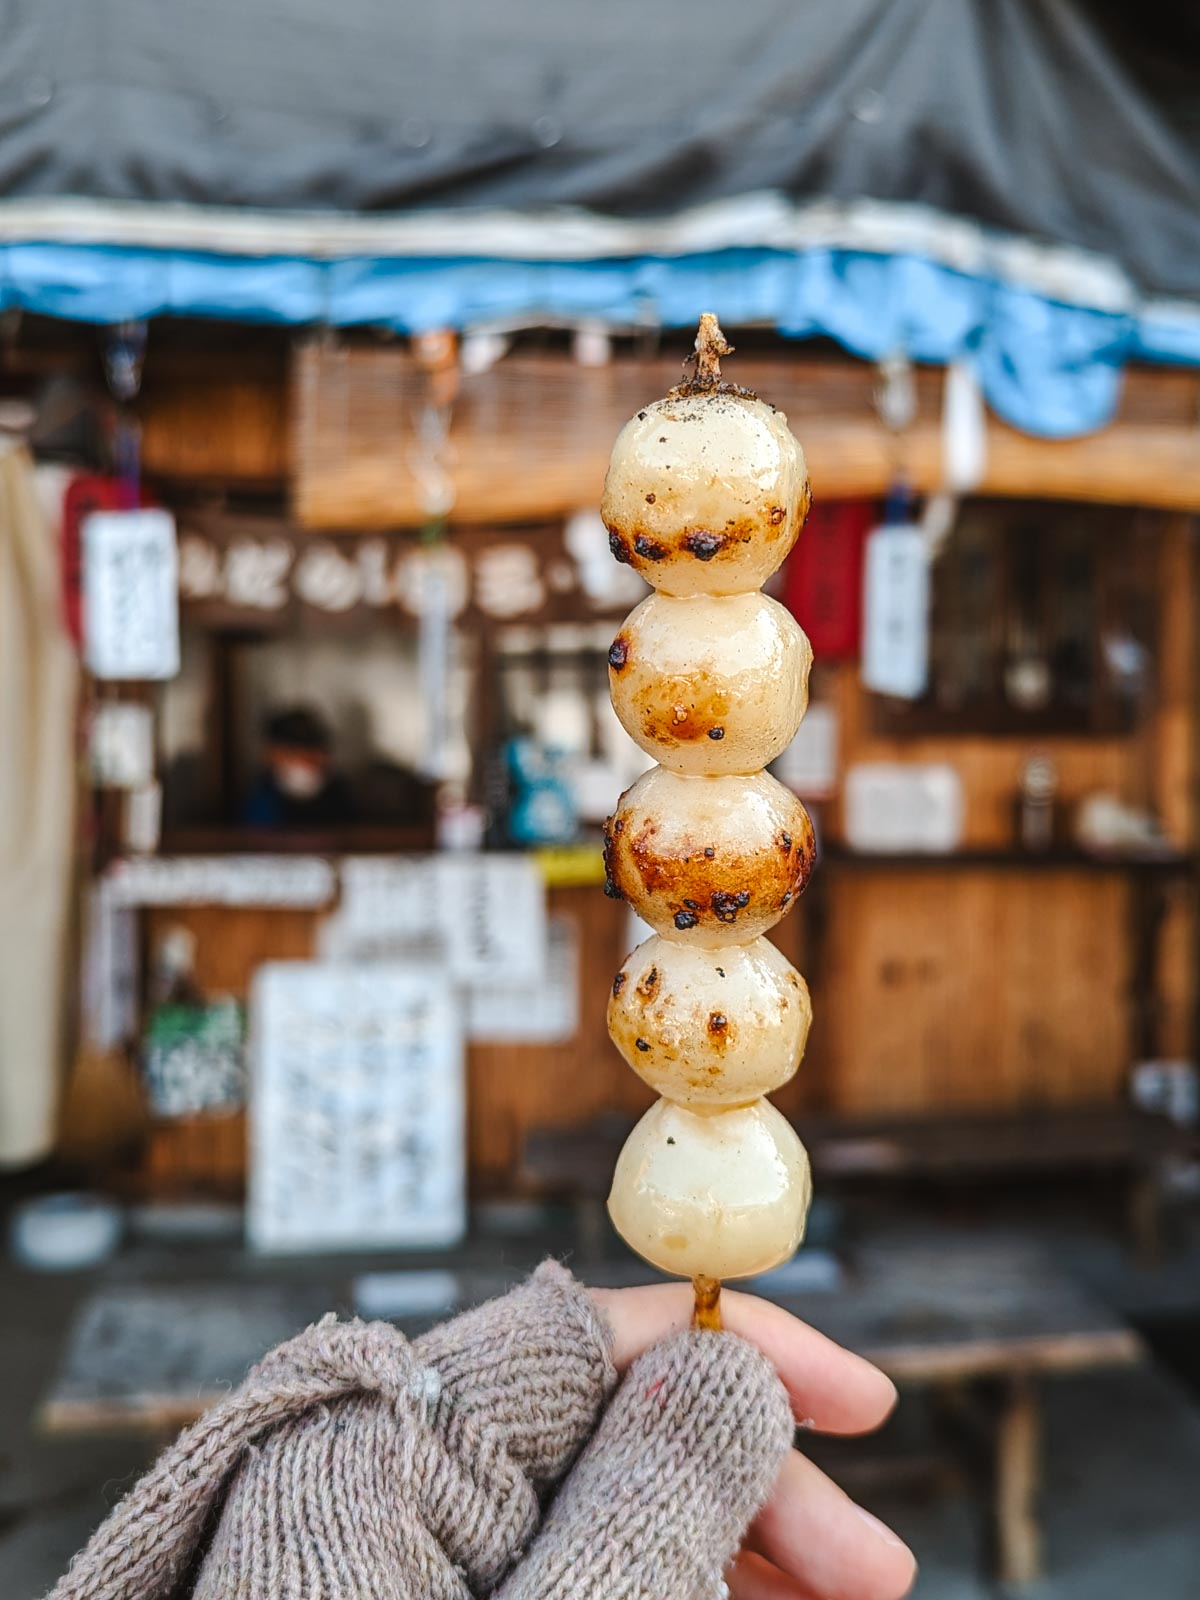
Despite its remote location, there’s no shortage of places to eat in Shirakawa-go. Whether you’re after a light snack or a more substantial meal, you’ll find restaurants, cafes, and window service stalls along all of the main roads.
As mentioned earlier, many places still operate as cash-only, so be sure to bring yen with you. There are a couple of ATMs along the main road but they may not work with all foreign banking cards.
Luckily, Shirakawa-go’s popularity with international travelers means most places have multi-lingual menus or at least pictures of the food so that you can point to what you’d like to order.
One spot you cannot miss is the small window stall selling mitarashi dango. It’s located on the eastern side of the long central road, not far from Kanda House and the public restroom building. The eldery husband and wife working there are so kind, and the sweet-and-salty taste of the grilled mochi is heavenly.
We chose to make the long trek north of the village center to eat at Zundou, a tiny and traditional ramen shop.
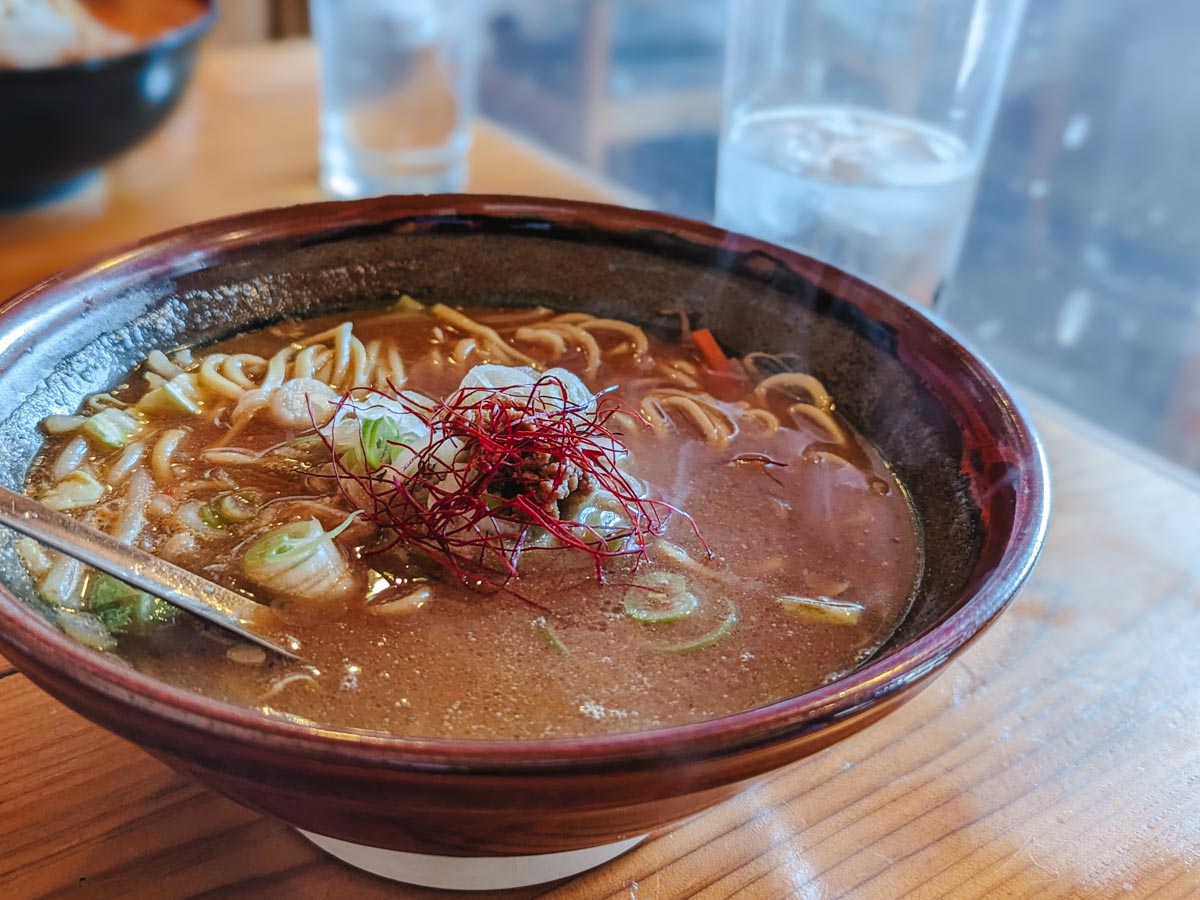
While I had the best bowl of miso ramen of my life here, it’s about a 30 minute walk each way, and according to the reviews, the shop may be closed despite the posted business hours. Also, the menu is written in stylized Japanese and I don’t believe the staff speak English, so you’ll need some basic skill with the language to successfully order.
Shirakawa-go Main Street
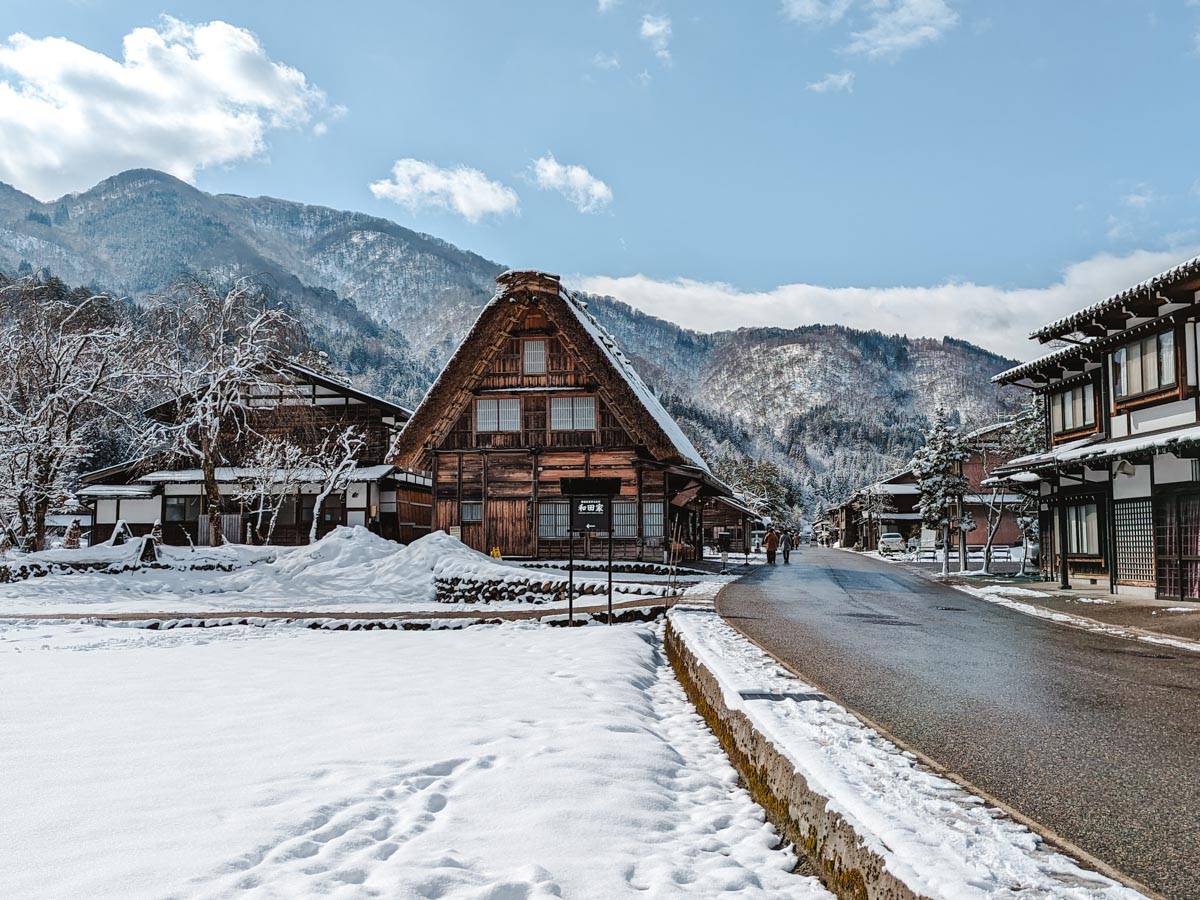
You’ll be criss-crossing Shirakawa-go’s main street in the course of this day trip itinerary. However, you’d be remiss if you breezed past the Ghibli-esque treasures that line the village’s thoroughfare.
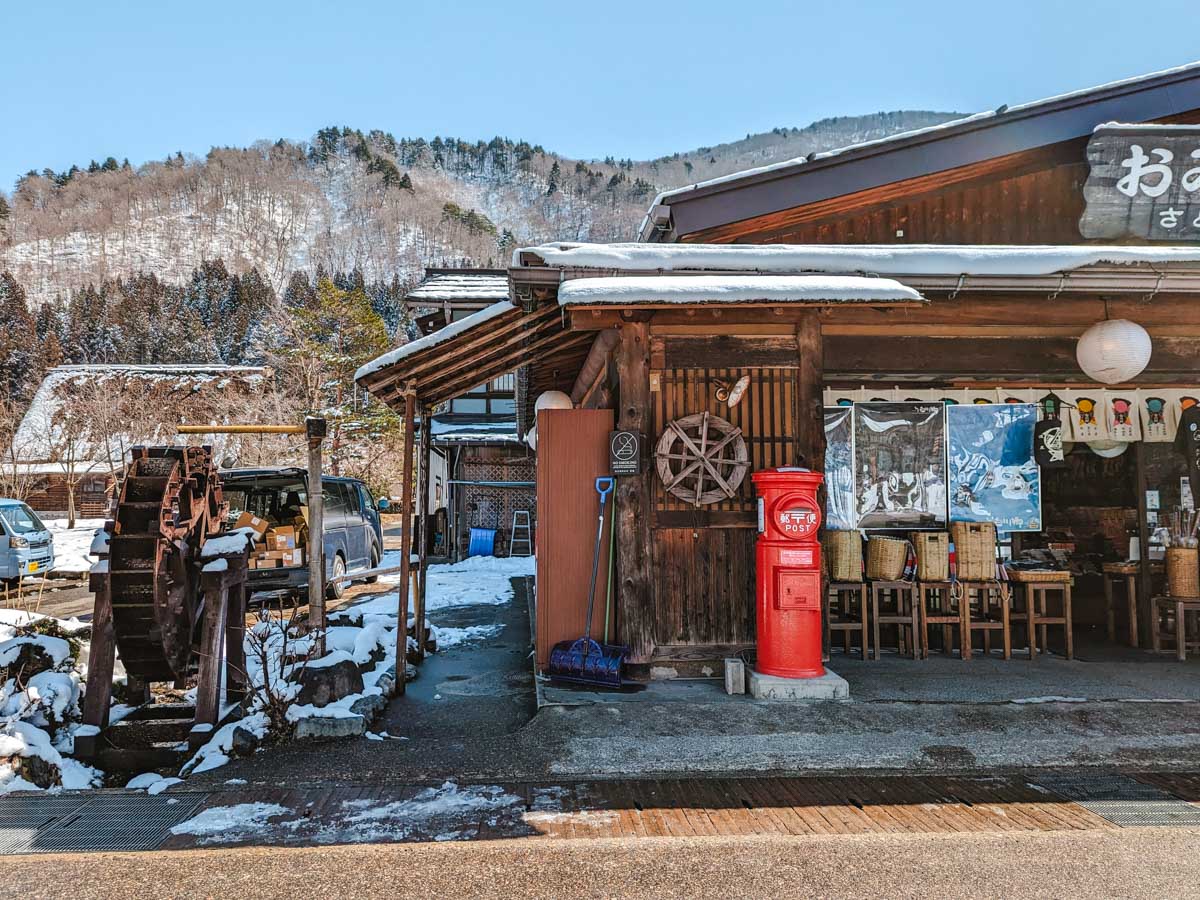
From water wheels to tanuki statues to bright red postboxes, this road is brimming with charm. And there’s no shortage of places to grab some Japanese souvenirs along the way. Popular souvenirs from Shirakawa-go include wooden owls, wind chimes, and silk-related handicrafts like small purses.
Myozenji
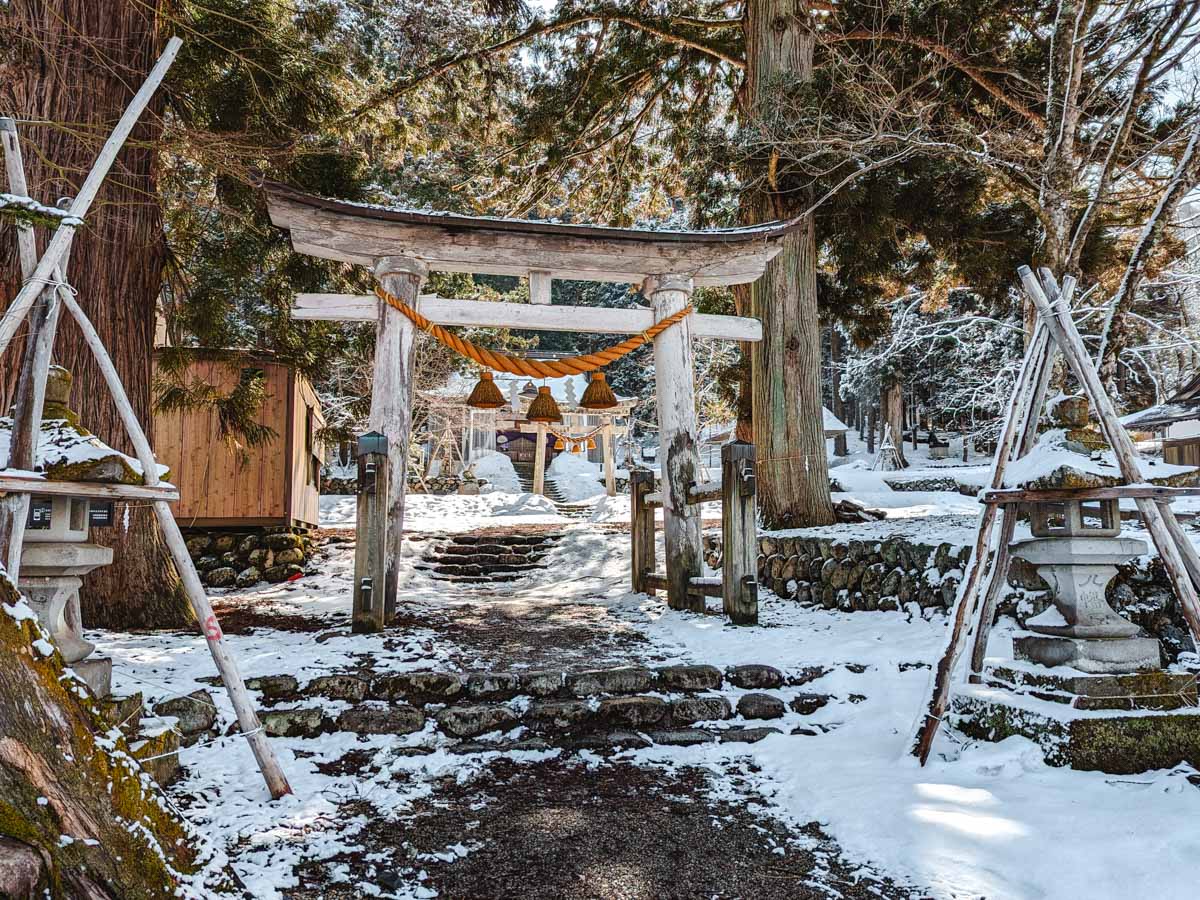
Resume your exploration at Myozenji, the largest shrine in Shirakawa-go village. Established in 1748, Myozenji’s main buildings–the hall, monk’s residence, and iconic bell tower with thatched roof–were constructed around 1800.
The shrine is one of those spots in Shirakawago that exemplifies the Japan’s natural beauty. There’s a massive yew and a cherry blossom tree, and the stone torii gates surrounded by foliage are picture perfect.
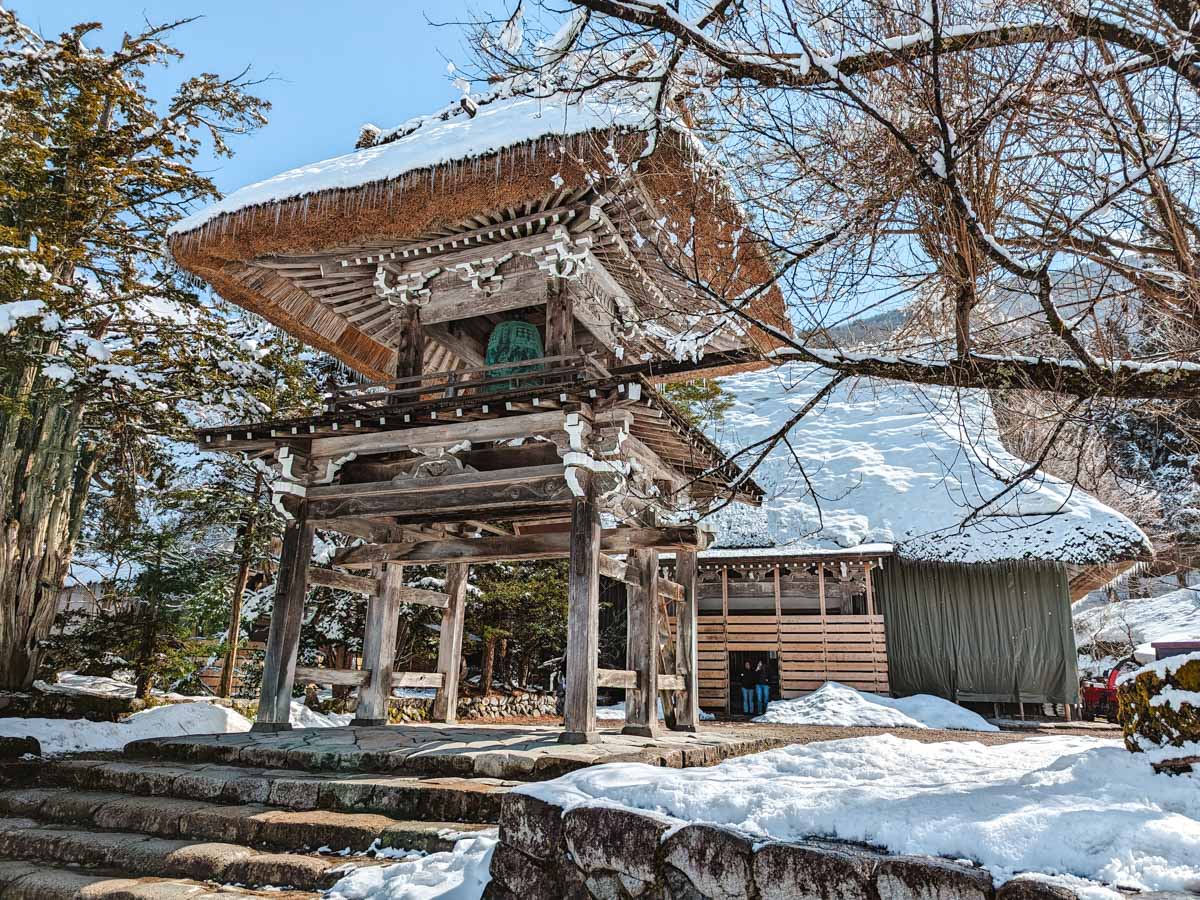
It’s free to wander the small grounds outside, and 300 yen to enter the museum and main hall.
Shirakawa-go Three Houses
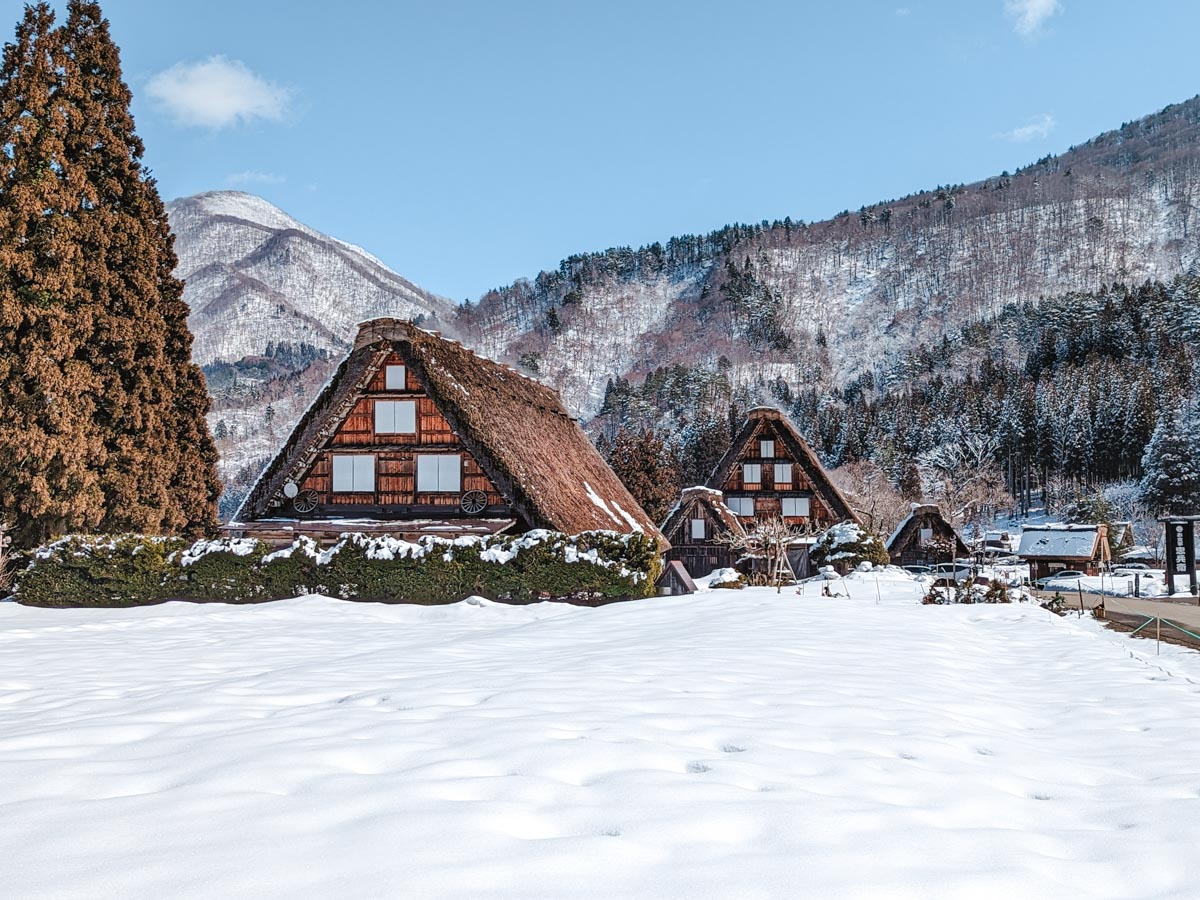
The group of Gassho-zukuri known as the Shirakawago Three Houses are perhaps the most iconic symbol of the village, appearing in loads of promotional materials and postcards. Unlike Wada or Kanda House, this location is a scenic point only, not a museum.
Although you’ll find images online that show the three house facades perfectly grouped and facing the camera, it’s no longer possible to walk deep enough into the surrounding field to get this vantage point.
There’s a small path that you can follow up to the point where I took the above picture, but the owner of the field has placed a small rope and sign stopping people from walking further. Please be a responsible traveler and respect the sign!
Gassho-zukuri Minkaen
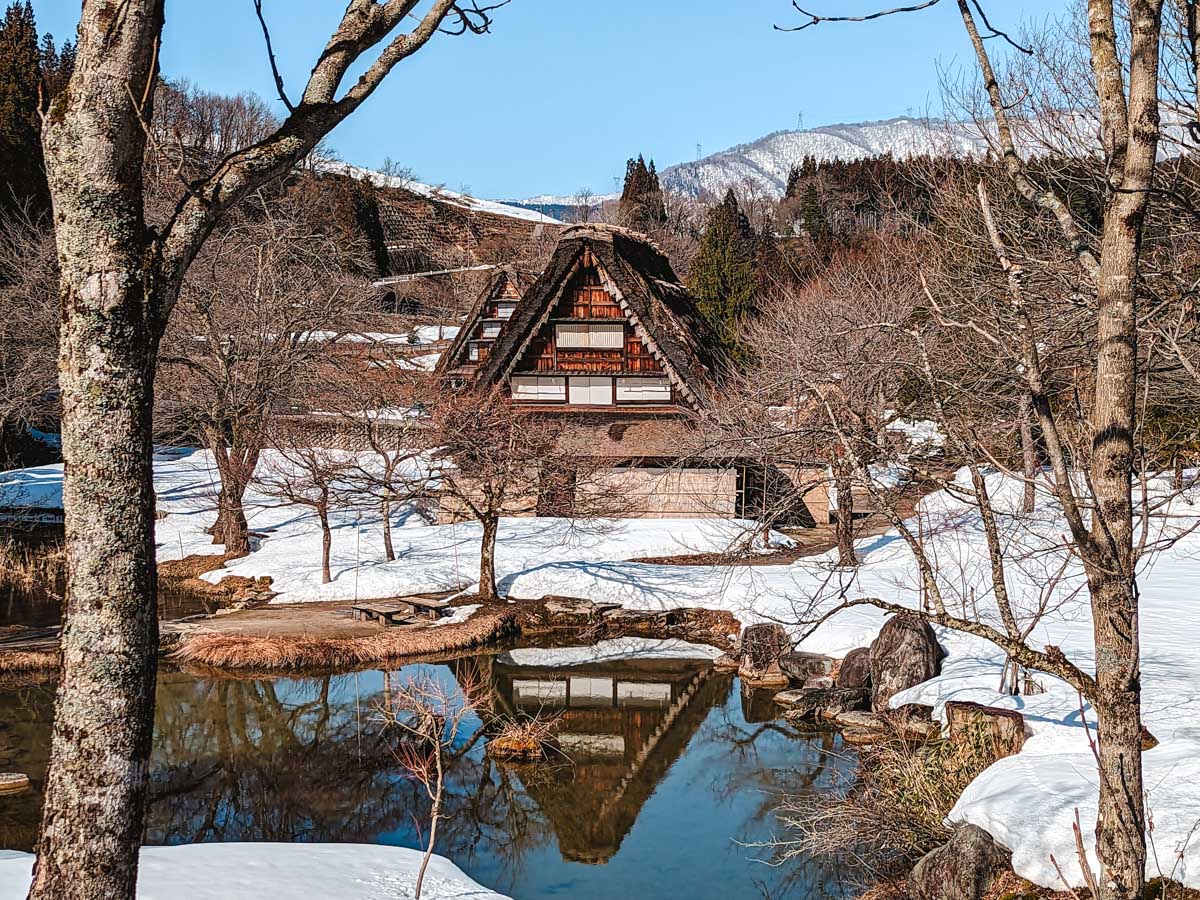
No Shirakawa-go day trip itinerary is complete without a trip through the Gassho-zukuri Minkaen. Situated on the western side of the Shō River that divides the village in half, this large open air museum is a piece of Japanese history frozen in time.
To reach the museum from the Three Houses, head back towards the center of town and turn left at the first intersection. You’ll soon reach the Ogimachi Suspension Bridge that leads you over the river. Follow the walking path and posted signs for the museum entrance.
Within the open air museum, there are numerous Gassho houses, storerooms, water mills, and other buildings essential to village life scattered across a beautiful landscape of greenery and water. And you can enter pretty much every single one to learn about how the people of Shirakawago lived, ate, worked, and celebrated hundreds of years ago.
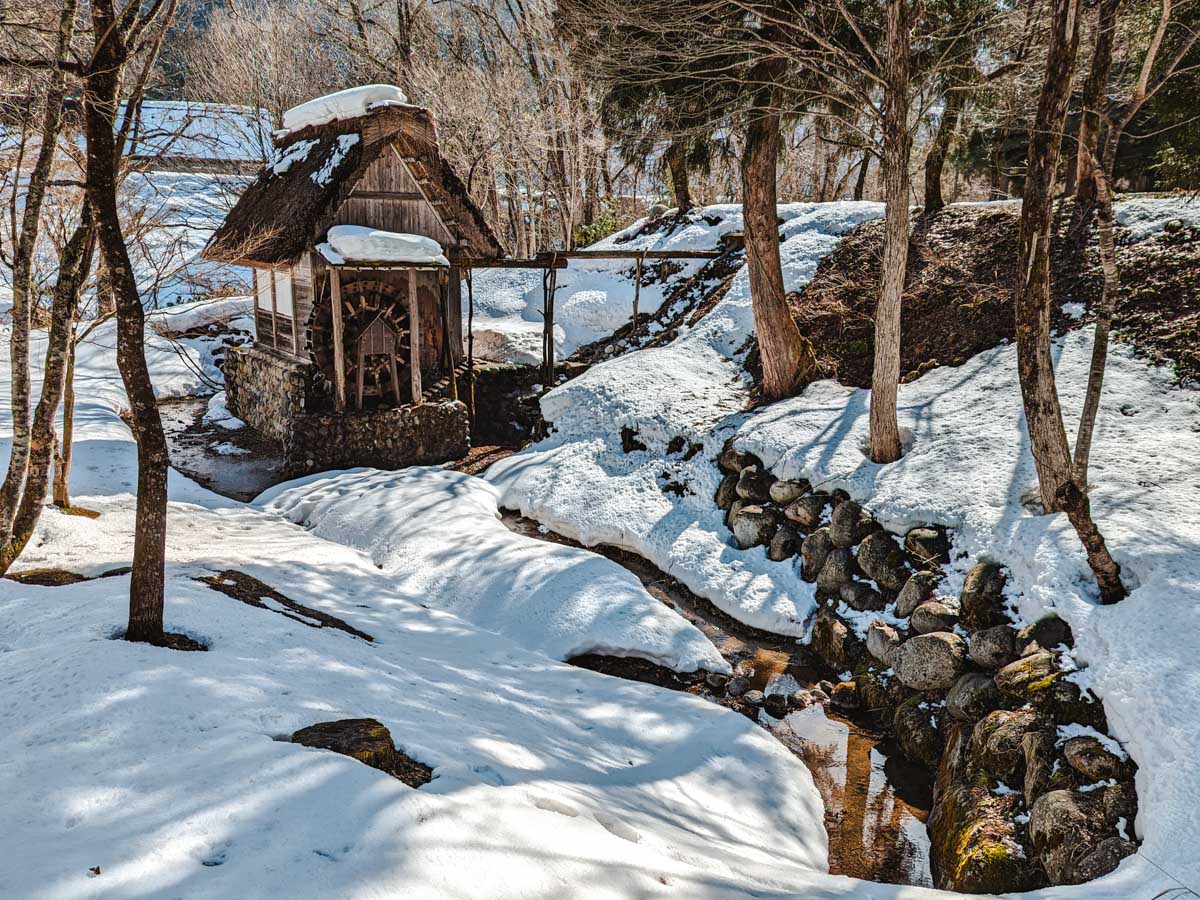
Admission is 600 yen and comes with an informational pamphlet and map. You’ll need to remove your shoes to enter some of the buildings.
That concludes this Shirakawago itinerary! I hope it gives you the confidence to make the journey to this amazing gem in Japan.

